Today I have a small easy tutorial to share with you.
After years of looking at my dated office I decided to re-organize my room/office space. I had purchased a large desk unit awhile back and it just wasn’t working anymore.
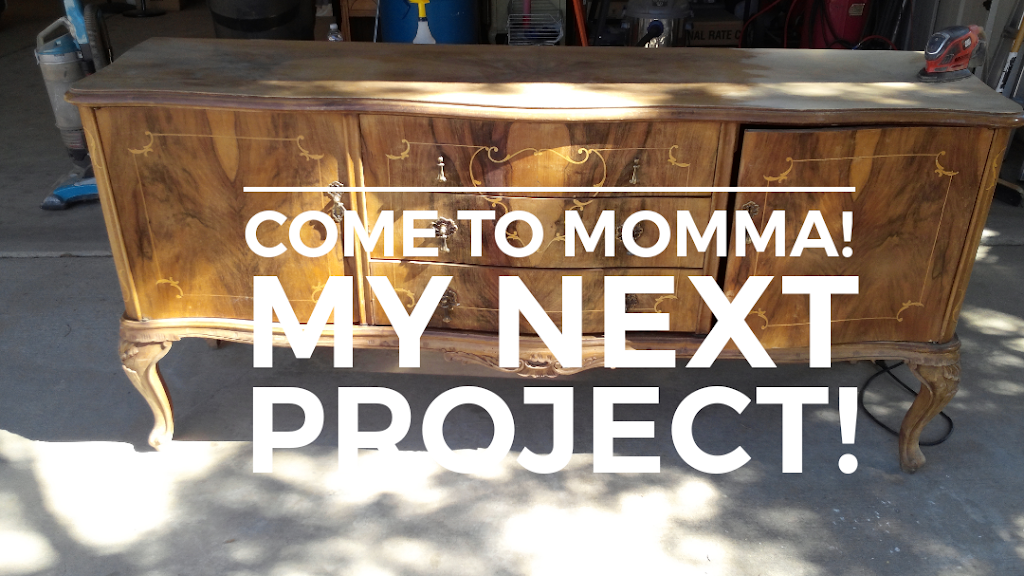
I began by drawing a layout of the space that I had and started there to work with it. I measured it and measured the pieces of furniture I wanted to use. Some I had already in my room. I needed storage. I look all around to find something that would really hold a lot of stuff for me and that is when I found my cabinet. The one that I posted earlier this month. (Shown below)

I keep a close eye on my thrift stores and bargains anywhere I could find them but with just a small amount of results. I didn’t know at the time that a frame I saw at the thrift store would be the main decorative piece to the new office.
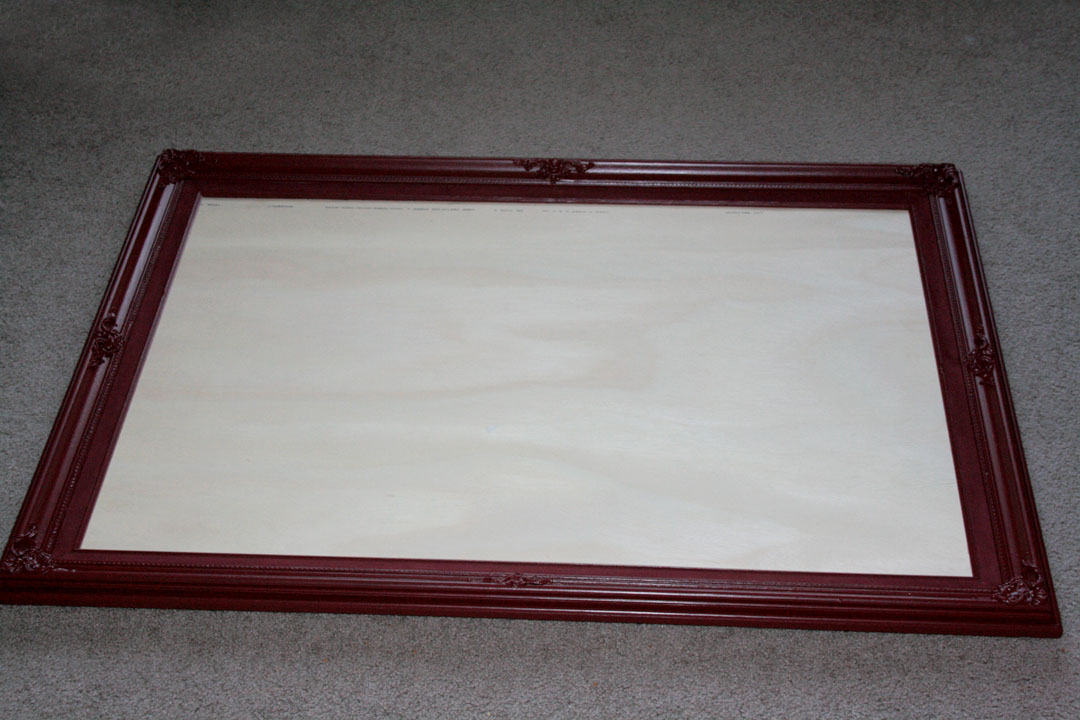
When I purchased this frame I was a bit hesitant since it was on the higher side of what I thought it was worth and really a mess, but I loved the design and the embellishments it had on it so I bought it. This is what it looked like.


I decided to paint the whole thing in the dark red so it would match the red border I had painted in my room. There isn’t a lot of red in there but it would bring it out for sure. I have a very light blue at the top of my border on the walls so I used a light blue to highlight the embellishments around the frame. It looks so elegant.

I placed a sheet of 1/4 inch plywood to the back, the size of the picture frame insert and nailed it down and then taped the sides as well.
I then added a rub on weekly calendar that is a dry board. I purchased this from JoAnns Fabric Store for $1.00 in their dollar bins. This lets me add notes for the weeks when I need to keep track of anything in particular, and save it for when it is needed.
 I added cork board in one bottom corner, for posted notes. (note: the supplies here aren’t complete. This is just a few items I used. I purchased the small cork boards at Beverly’s but they didn’t work for me. They are about $1.25 each in a package of 4. The sheet metal was purchased at a close by hardware store for about $9.00)
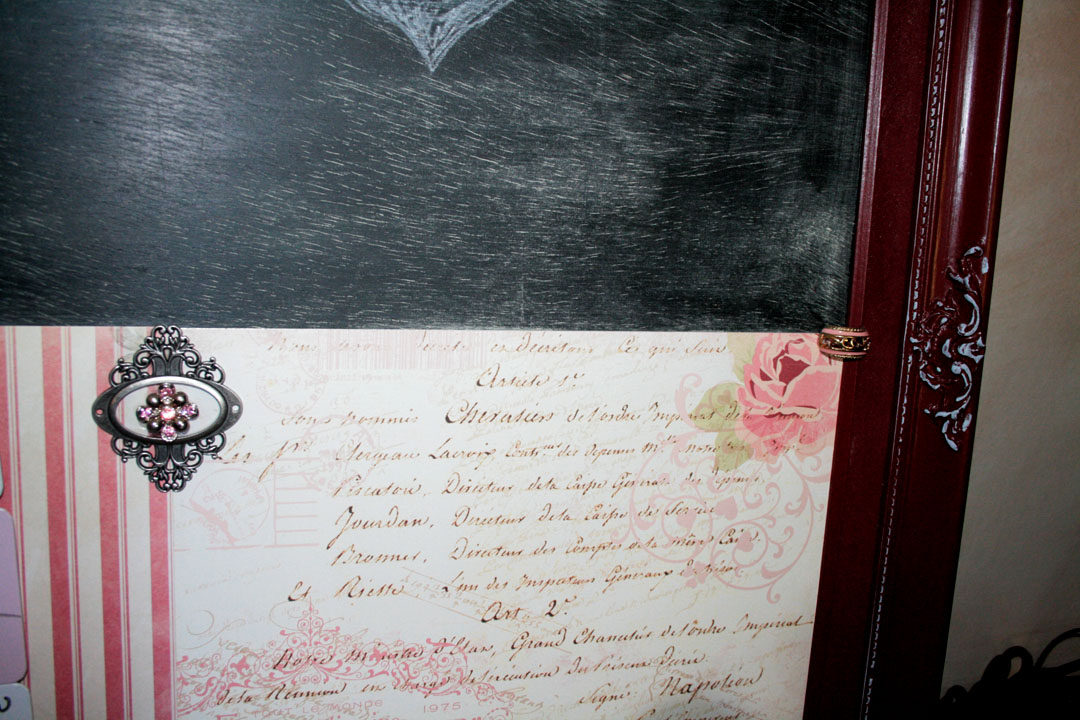
I placed in the other bottom corner a sheet of metal that I covered with a gorgeous piece of paper. It has beautiful roses and what looks like old hand writing. I also added a stripped paper to match. I love the way it looks.


I painted black chalk paint in the last corner and under where the dry erase stick on didn’t cover all the way down to meet the cork board. Prepped the chalk when it was dry so I could make notes on it too.
To finish it off I glued various pieces of jewelry on the frame and in some of the sections. They are awesome!
I went to Walmart to get the cork boards, but I also found these magnetic, dry erase, moveable squares. These come in very handy for me. I use them to keep track of my orders. When an order is shipped I erase it and start with another order. Super handy.

My daughter-in-law found little Paris stick pins a long time ago and gave them to me.
They are great for the cork board.
When I was finished putting everything together I placed the board on the back of my desk It hides the wires that go to my computer.
It is perfect.

If you have a frame and are looking to use it some how, maybe you will make your own board. These are just a few ideas…
Thanks for your interest, and remember to
Aspire to Inspire!
Kimberly


Recent Comments