Today I am continuing on with the 3 pc. set that I started sharing with you earlier. But before I start I would like to share some of what has been going on at Kimberly Madson Art & Design.
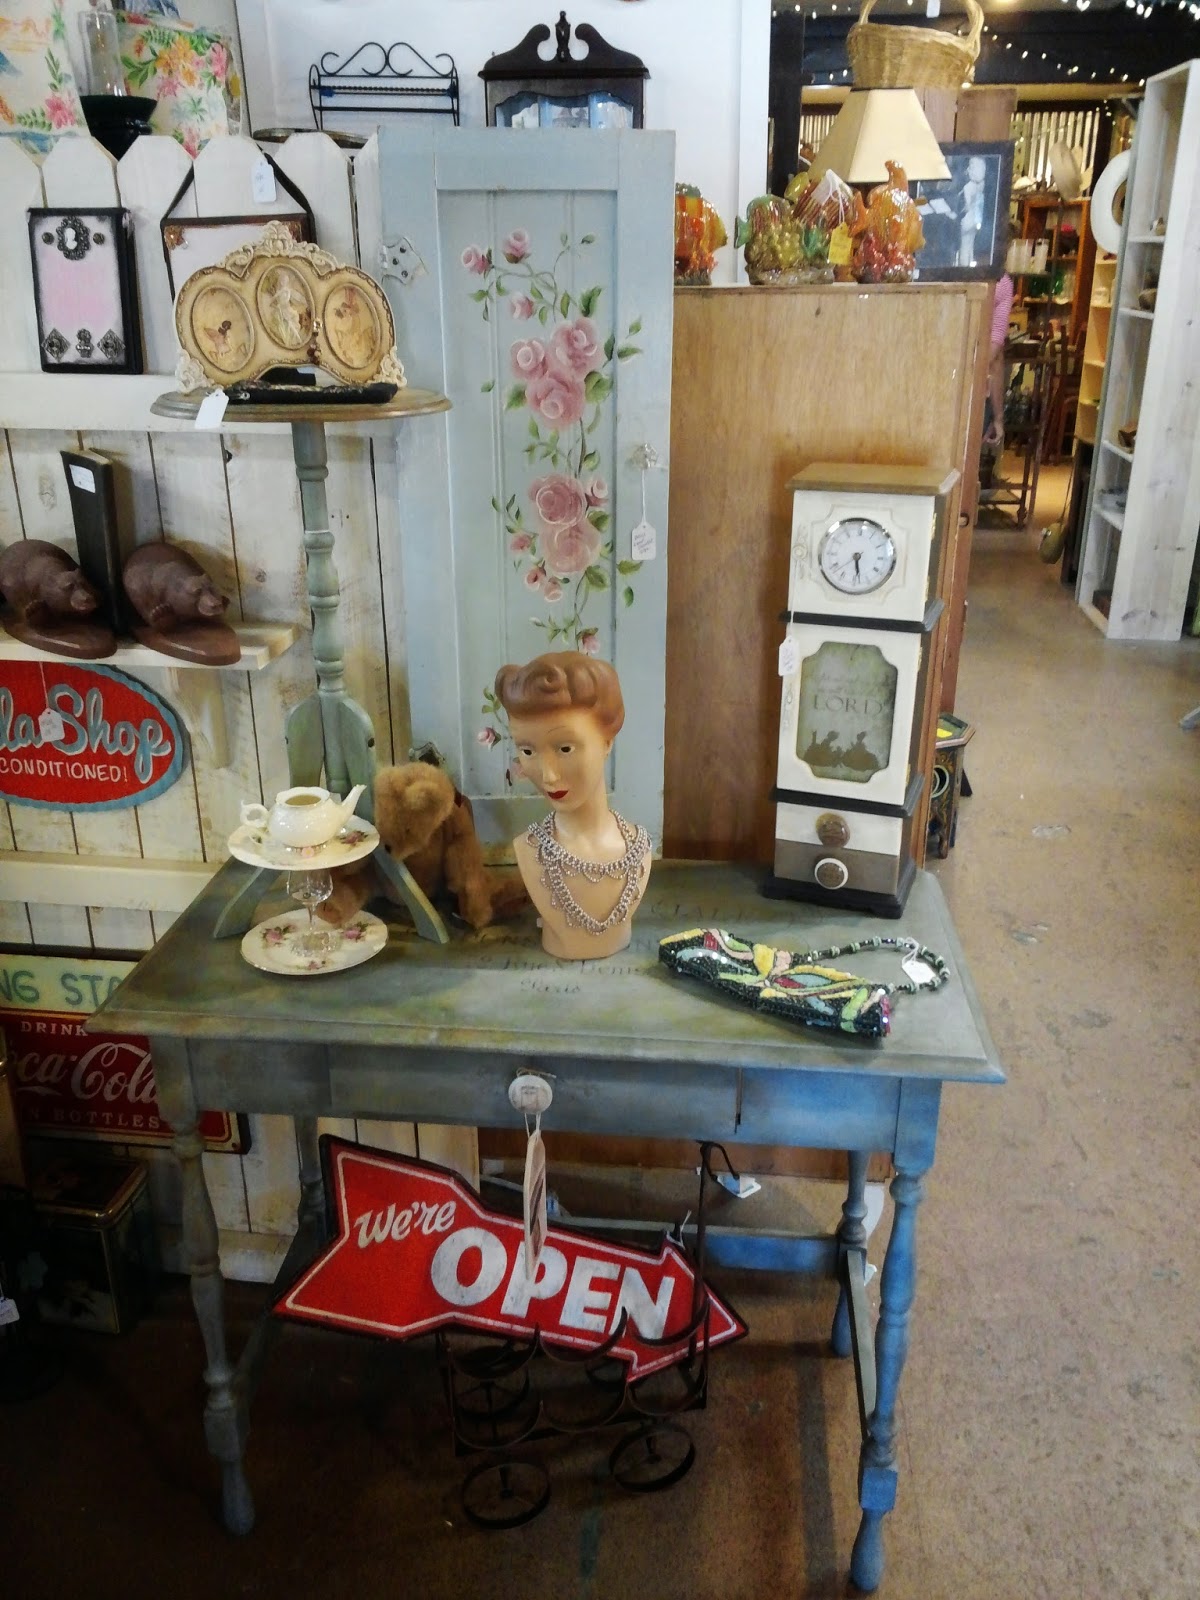
I have opened a new shop in Auntie Em’s here in Tehachapi. It is an Antique, shabby chic sort of shop. Great owners and the store itself is one of the best in this little town. Here is a link to their Facebook page. https://www.facebook.com/AuntieEmsAntiques
Check them out and see the inside of the shop. Come a visit if you are ever in town.


I had been working on getting everything in the shop set up and then after it was complete I was offered a larger space and decided to take it. I have moved into the larger space and I have been working on getting it set up properly. In the mean time I have found some pieces here and there that I wanted to re-purpose and also use the chalk paint on. I have used Anne Slone’s paint and I have made my own. Annie’s is a bit thicker but mine works just great for me as well and it is a lot easier on my pocket book.
Here is the recipe I used:
CHALK PAINT
1 cup paint
2 1/2 Tbl. Plaster of Paris
2 Tbl cold water
Mix the plaster into the water until there are no lumps and it is smooth. Let it thicken a bit. You don’t want it watery. The thicker you let this set the thicker your paint will be. Just don’t wait too long or you may have a plaster brick.
Mix with paint and stir until smooth.
You are now ready to paint.
For 1 Quart:
4 cups paint
10 Tbl. Plaster of Paris
8 Tbl. cold water
Follow directions as stated above.
You can use the waxes on this paint as well.
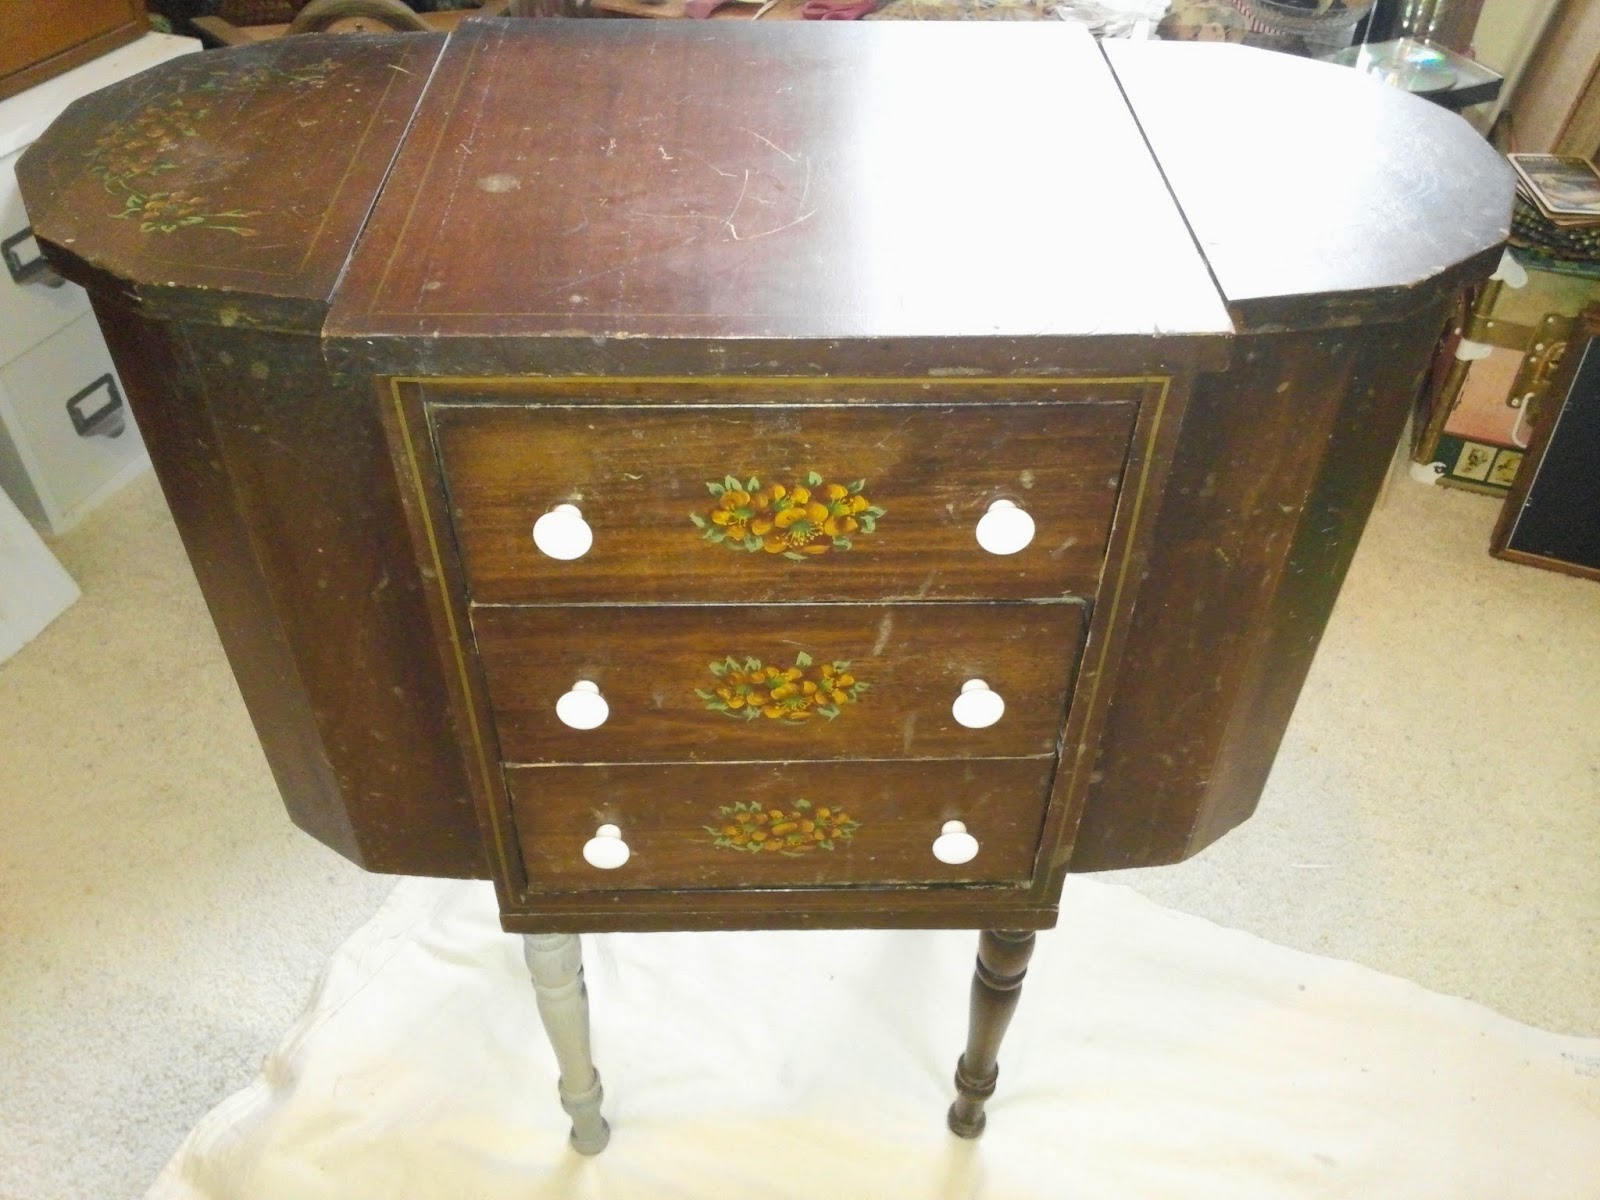
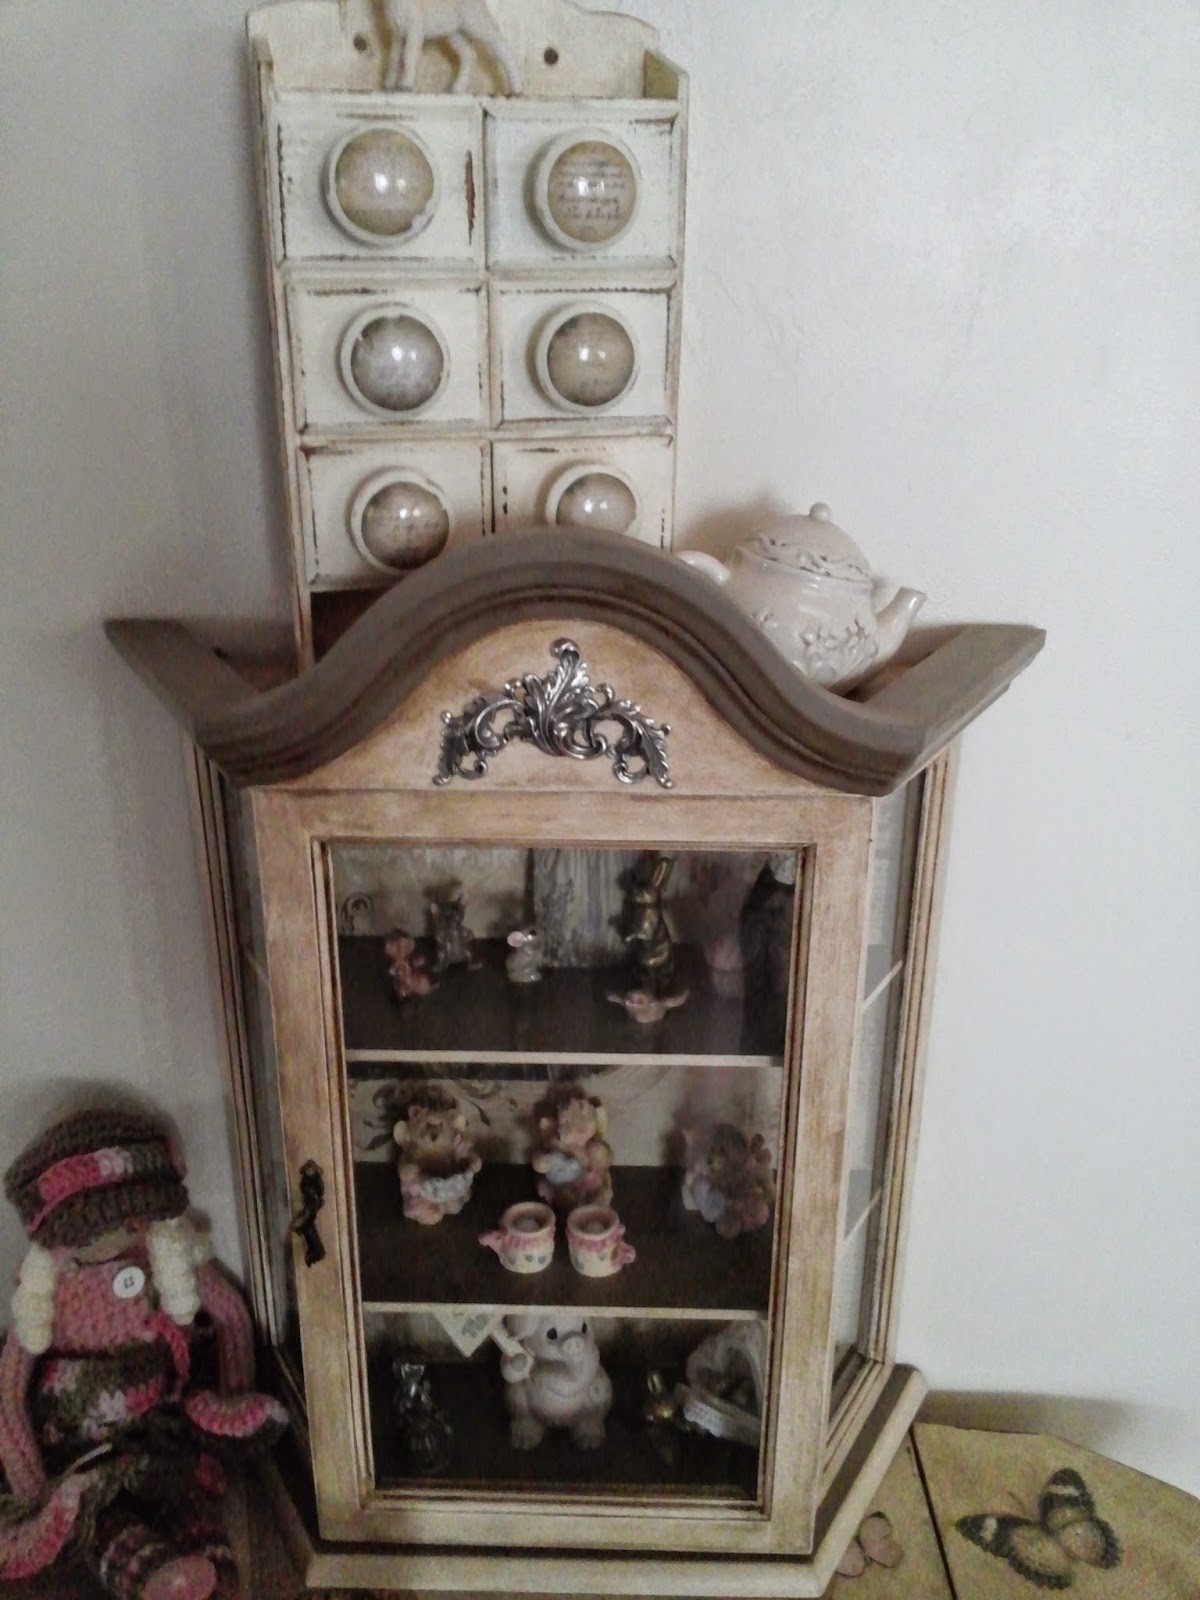
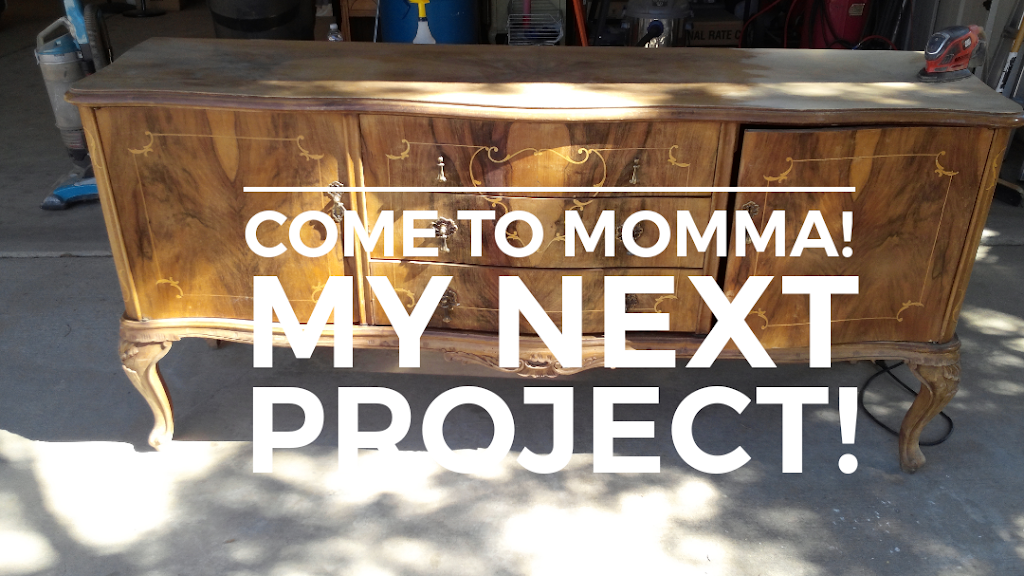
An Old Piece
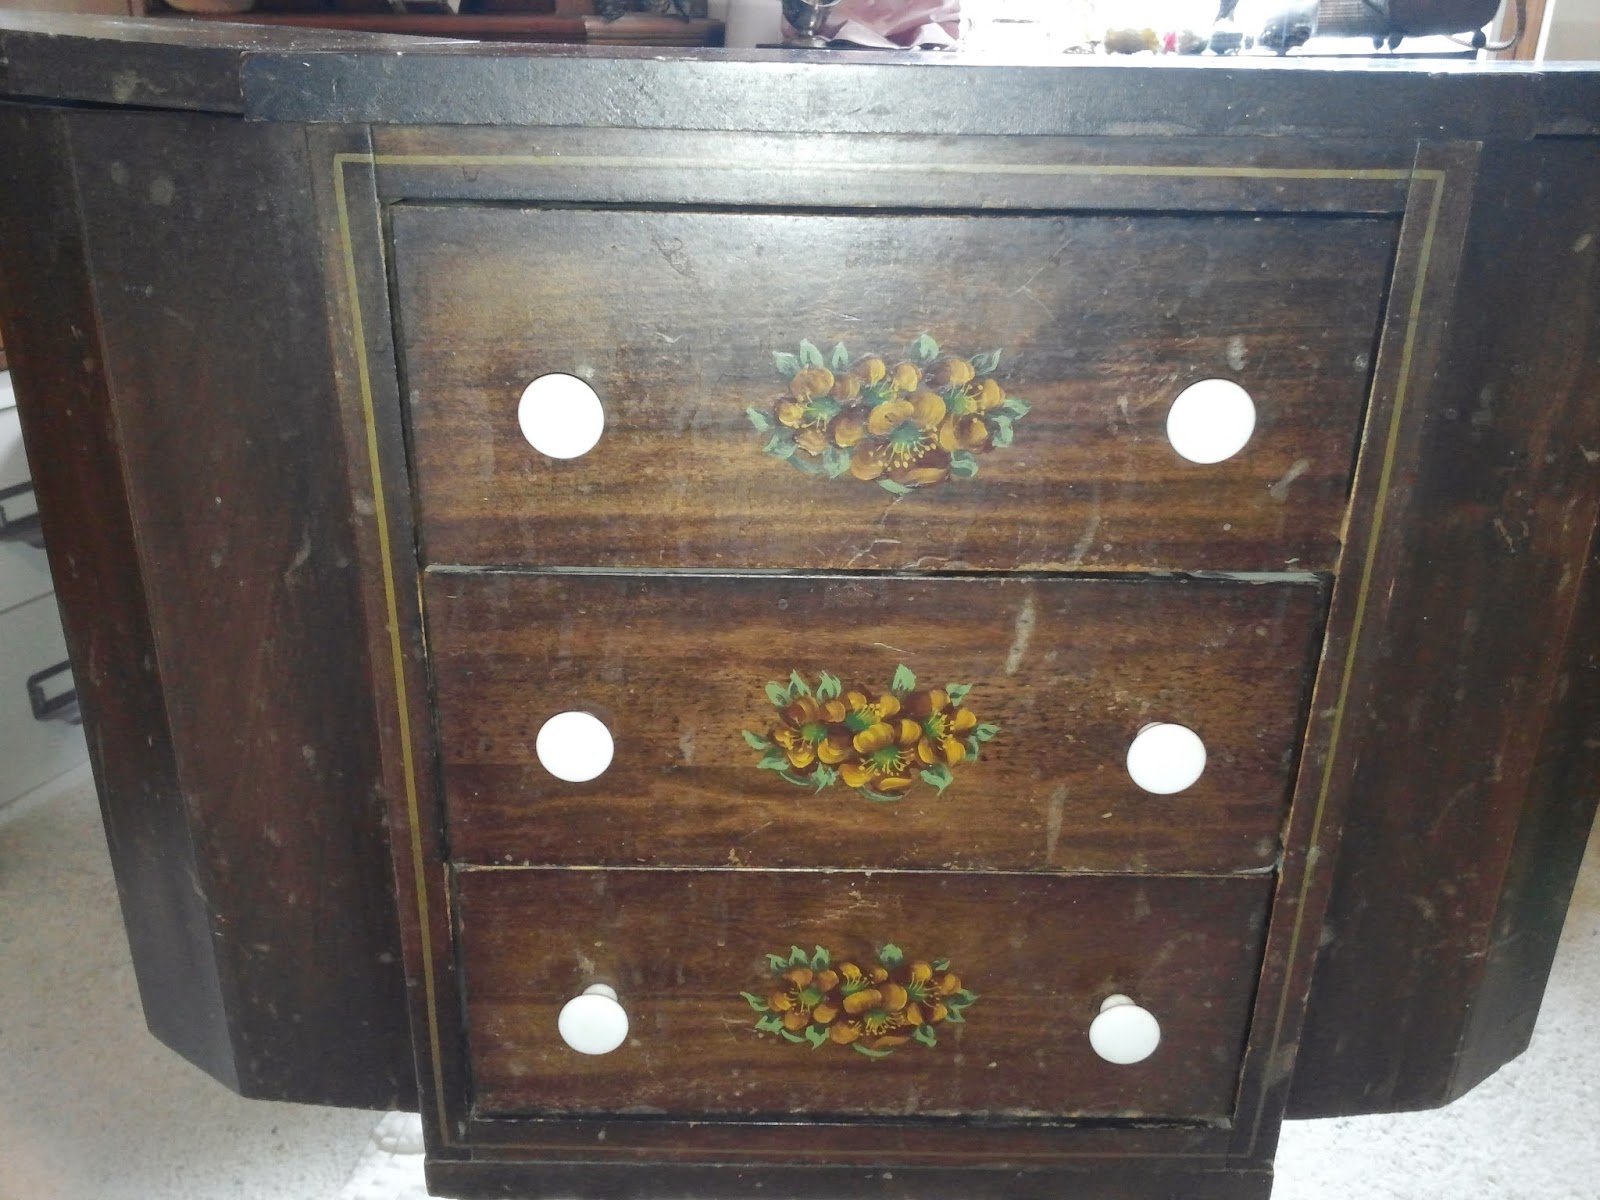
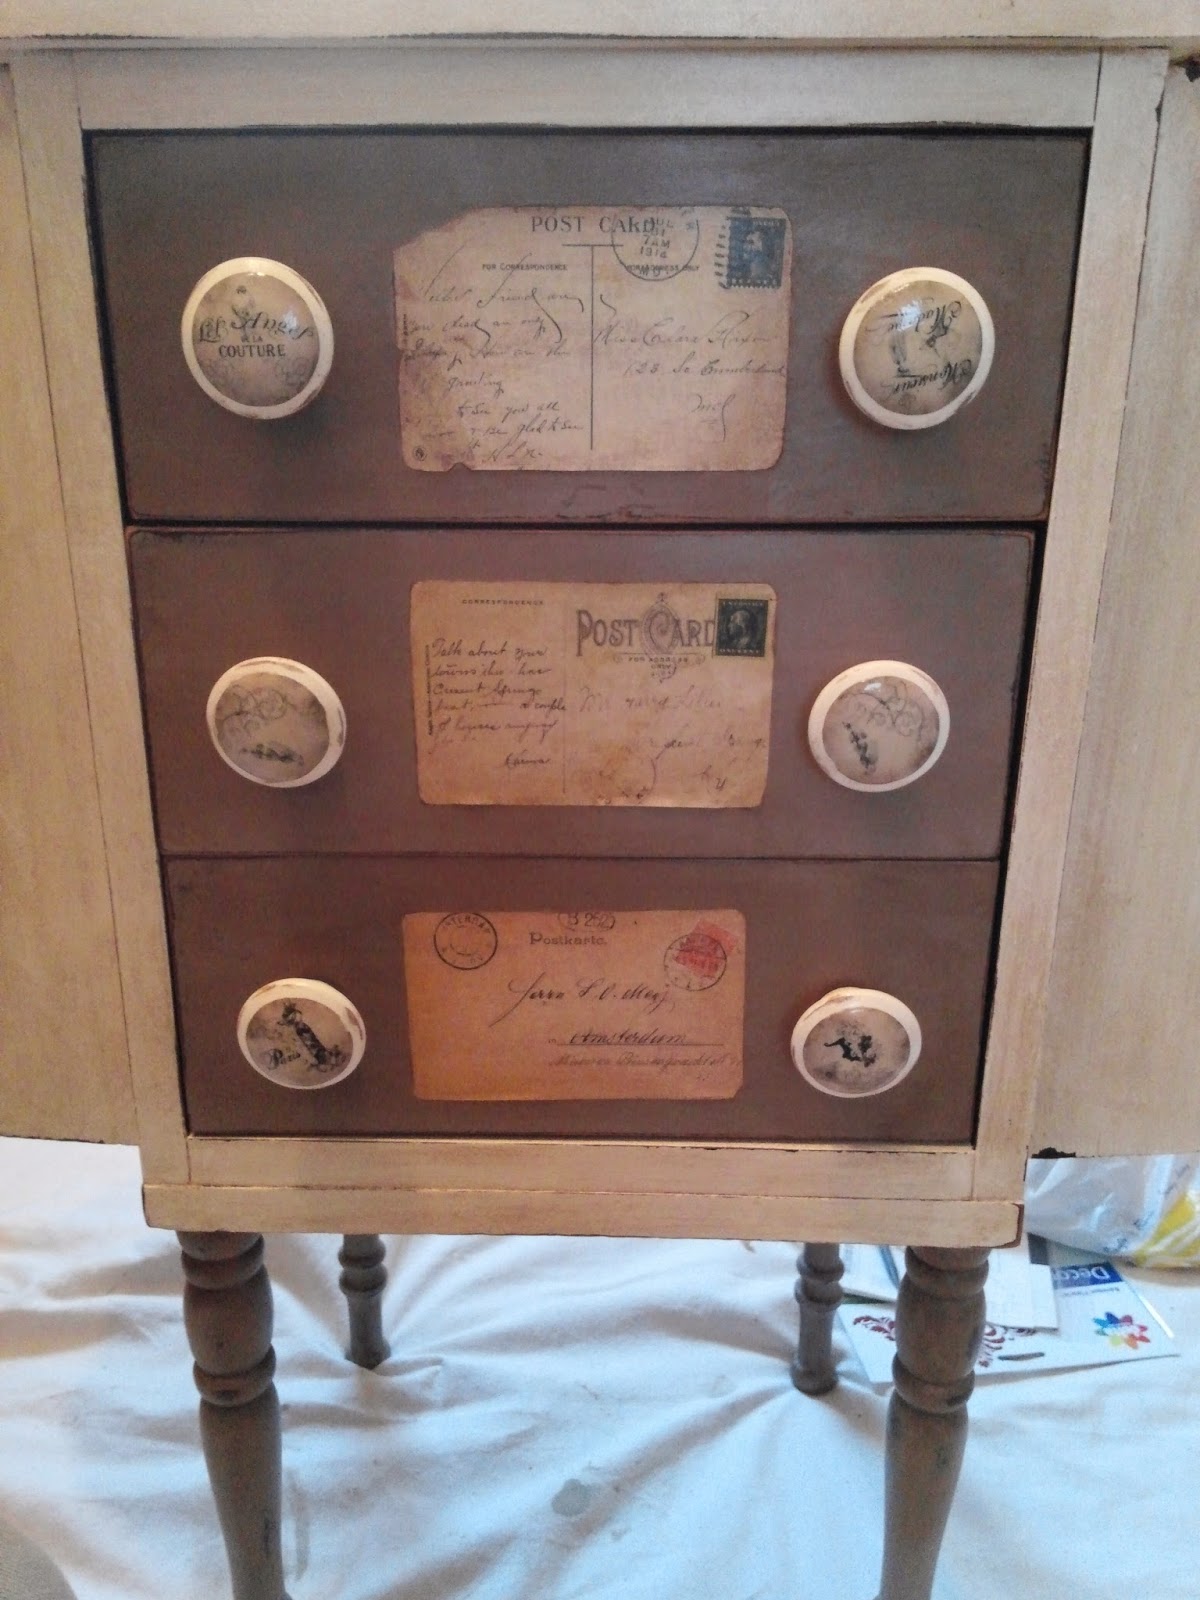
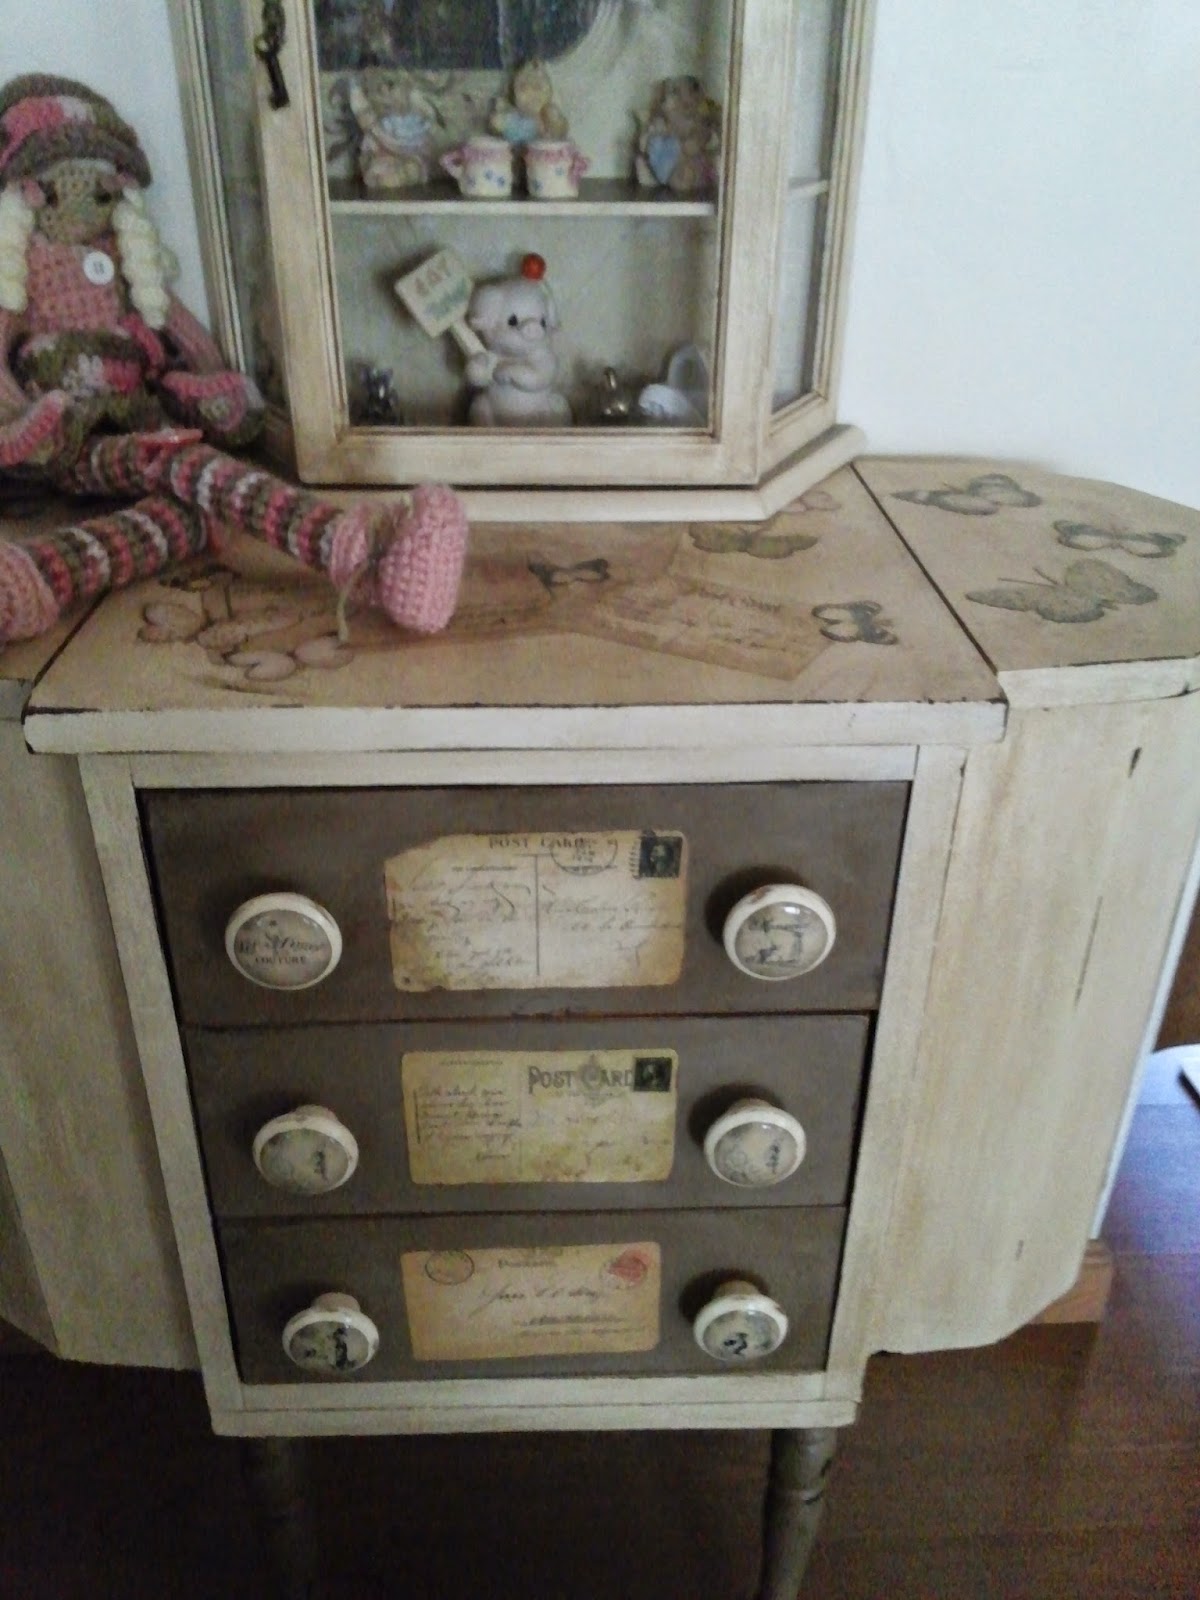
I began with the little case that I shared last time and then I found this Martha Washington Sewing Cabinet at Auntie Em”s, bought it and then painted it to go with the first case.
It was pretty bunged up with scratches.
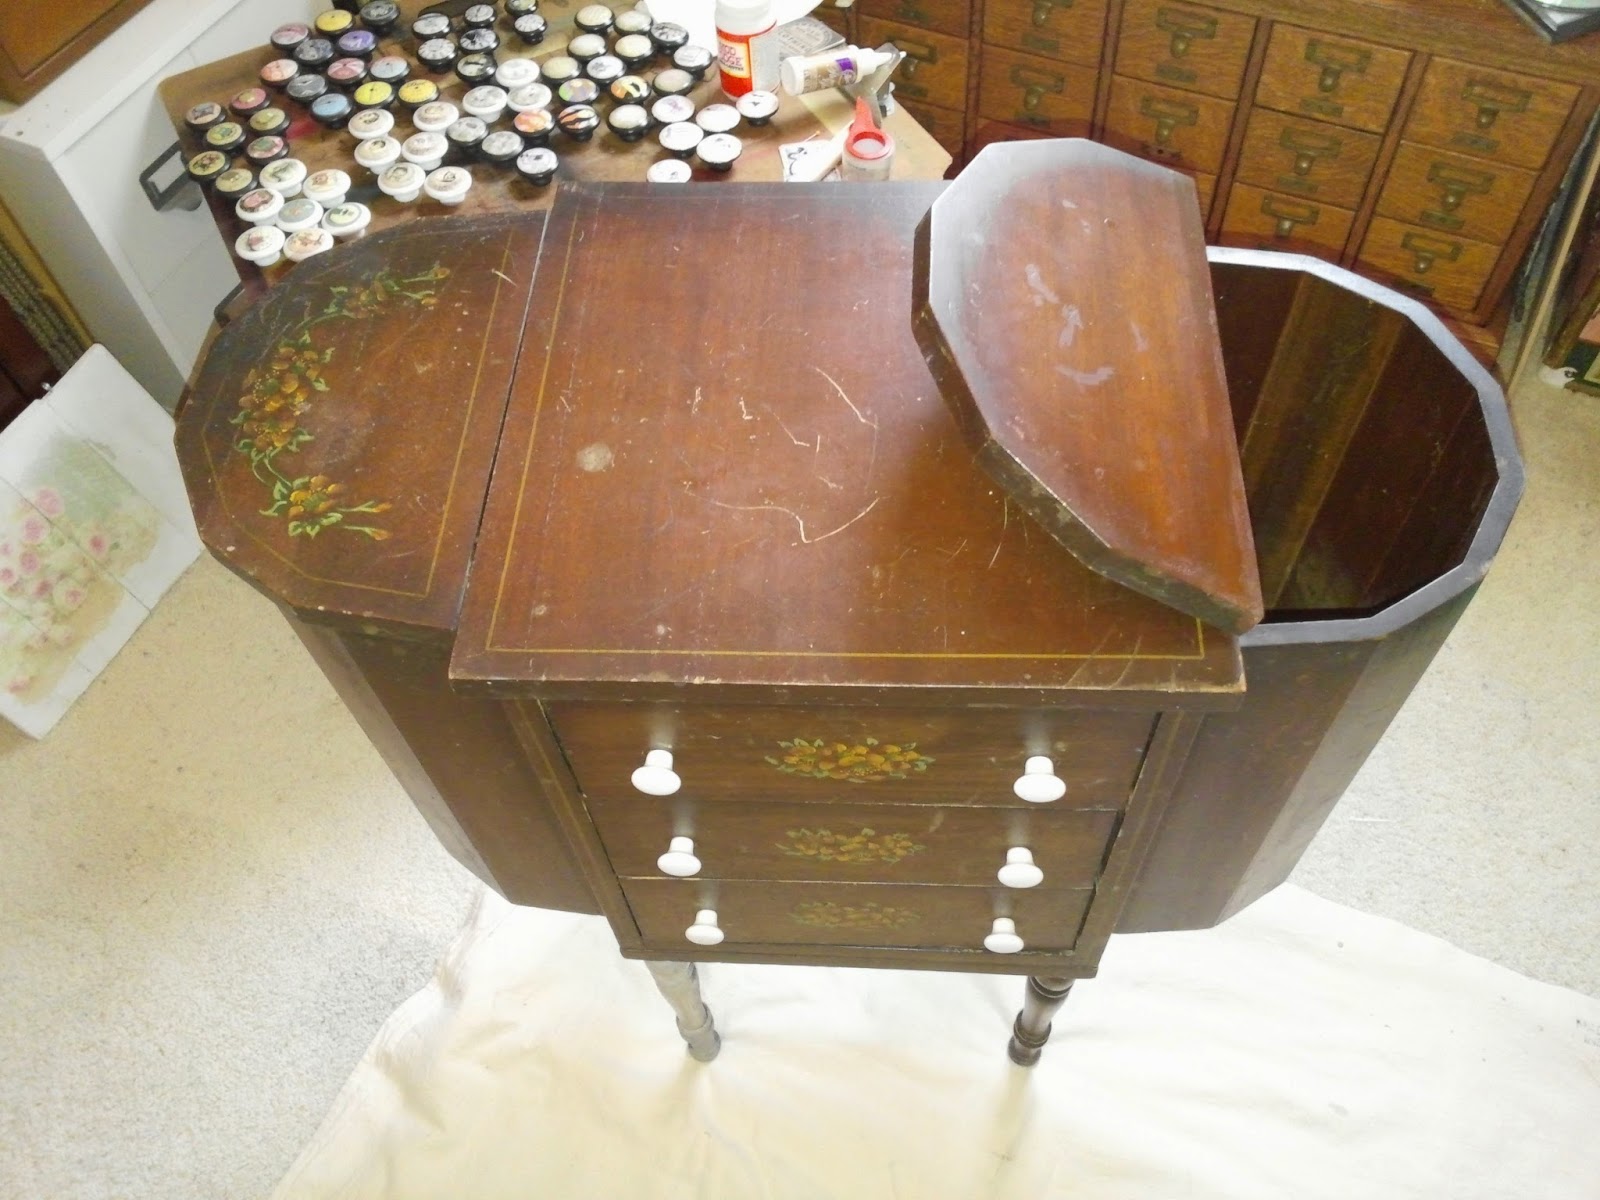
It had these delicate little flowers
on the front of the drawers and the top
that I really hated to paint over
but they were not in good shape either.
Such a cute piece.
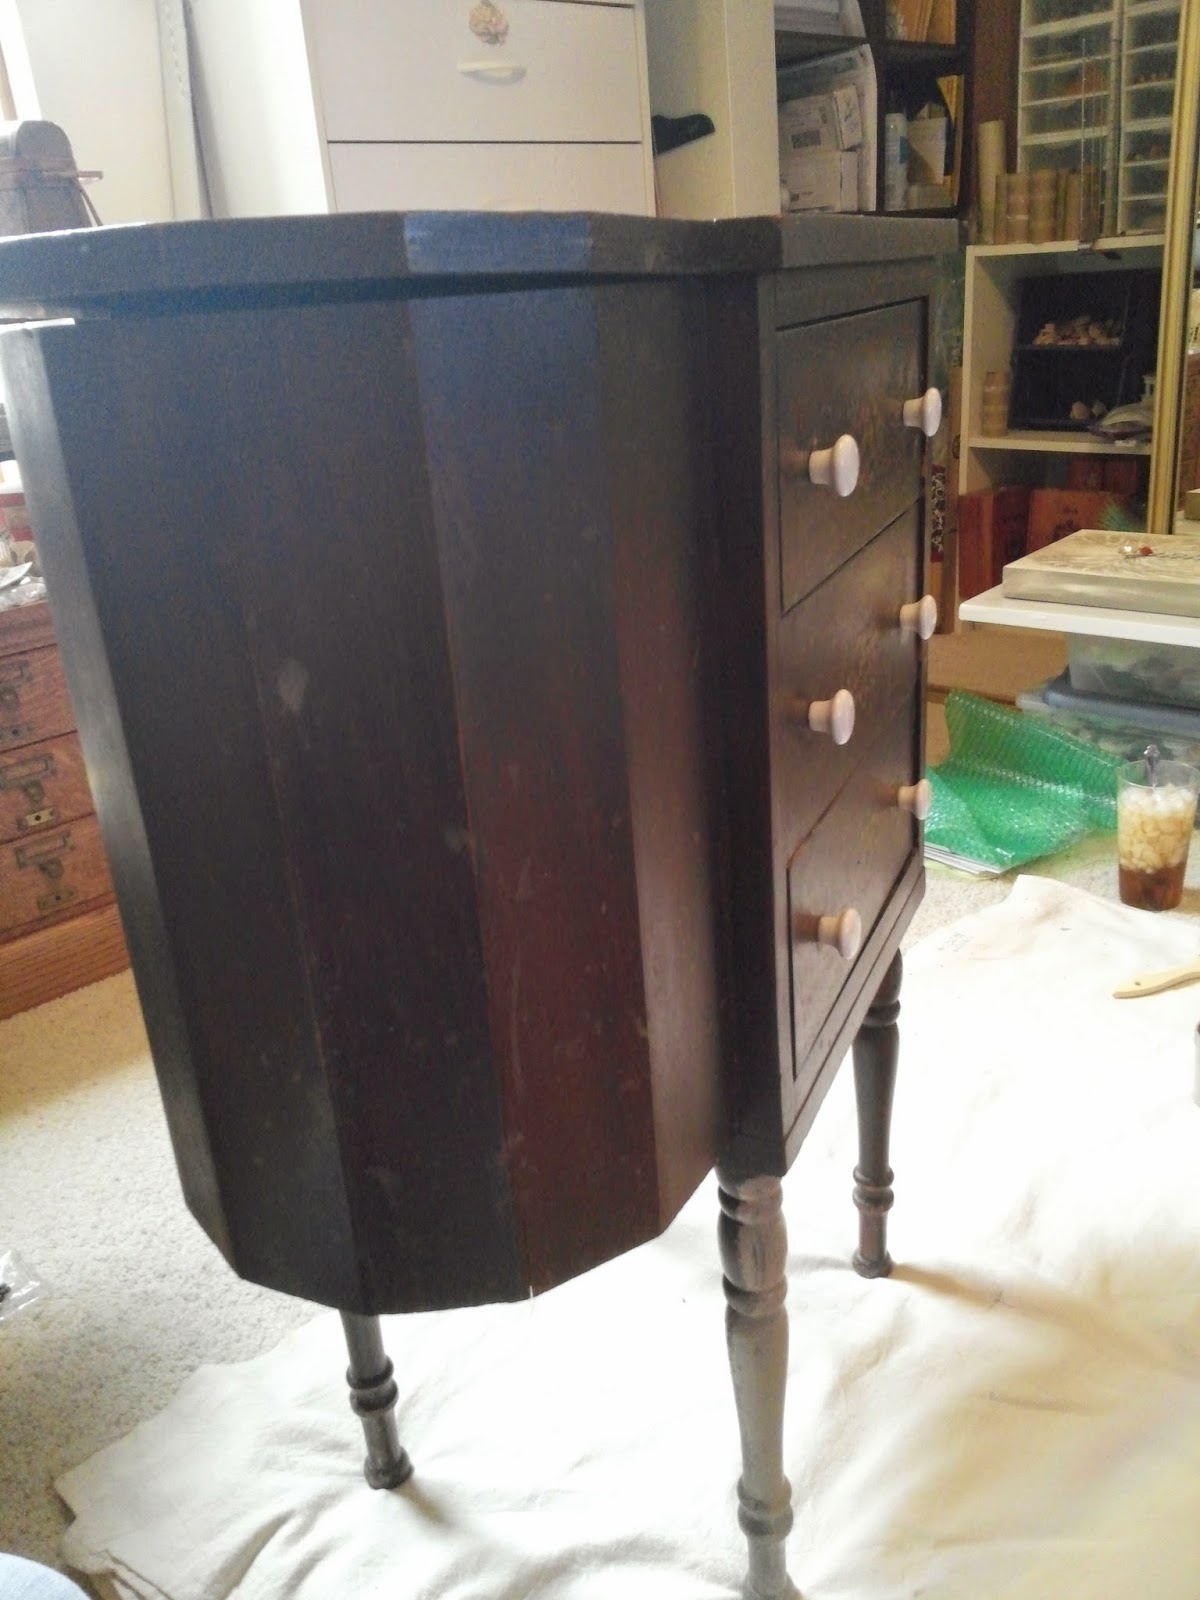
I removed the drawers and the knobs.
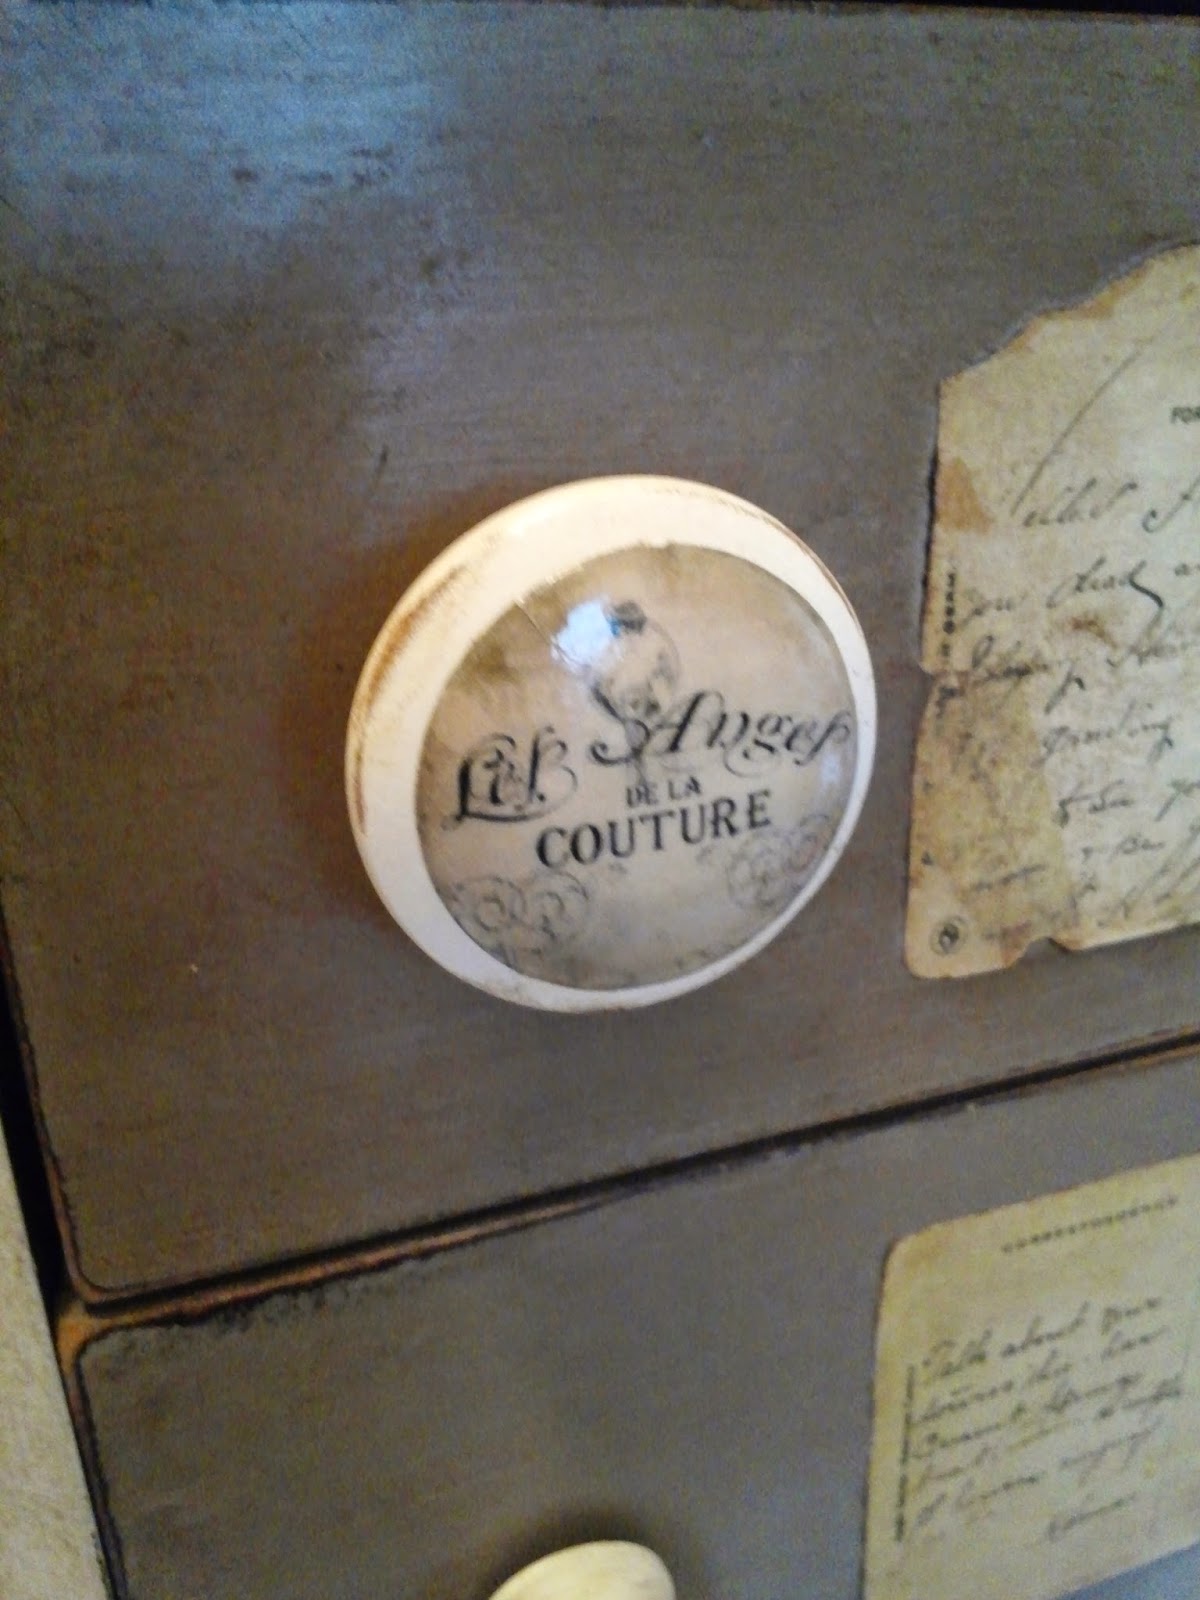
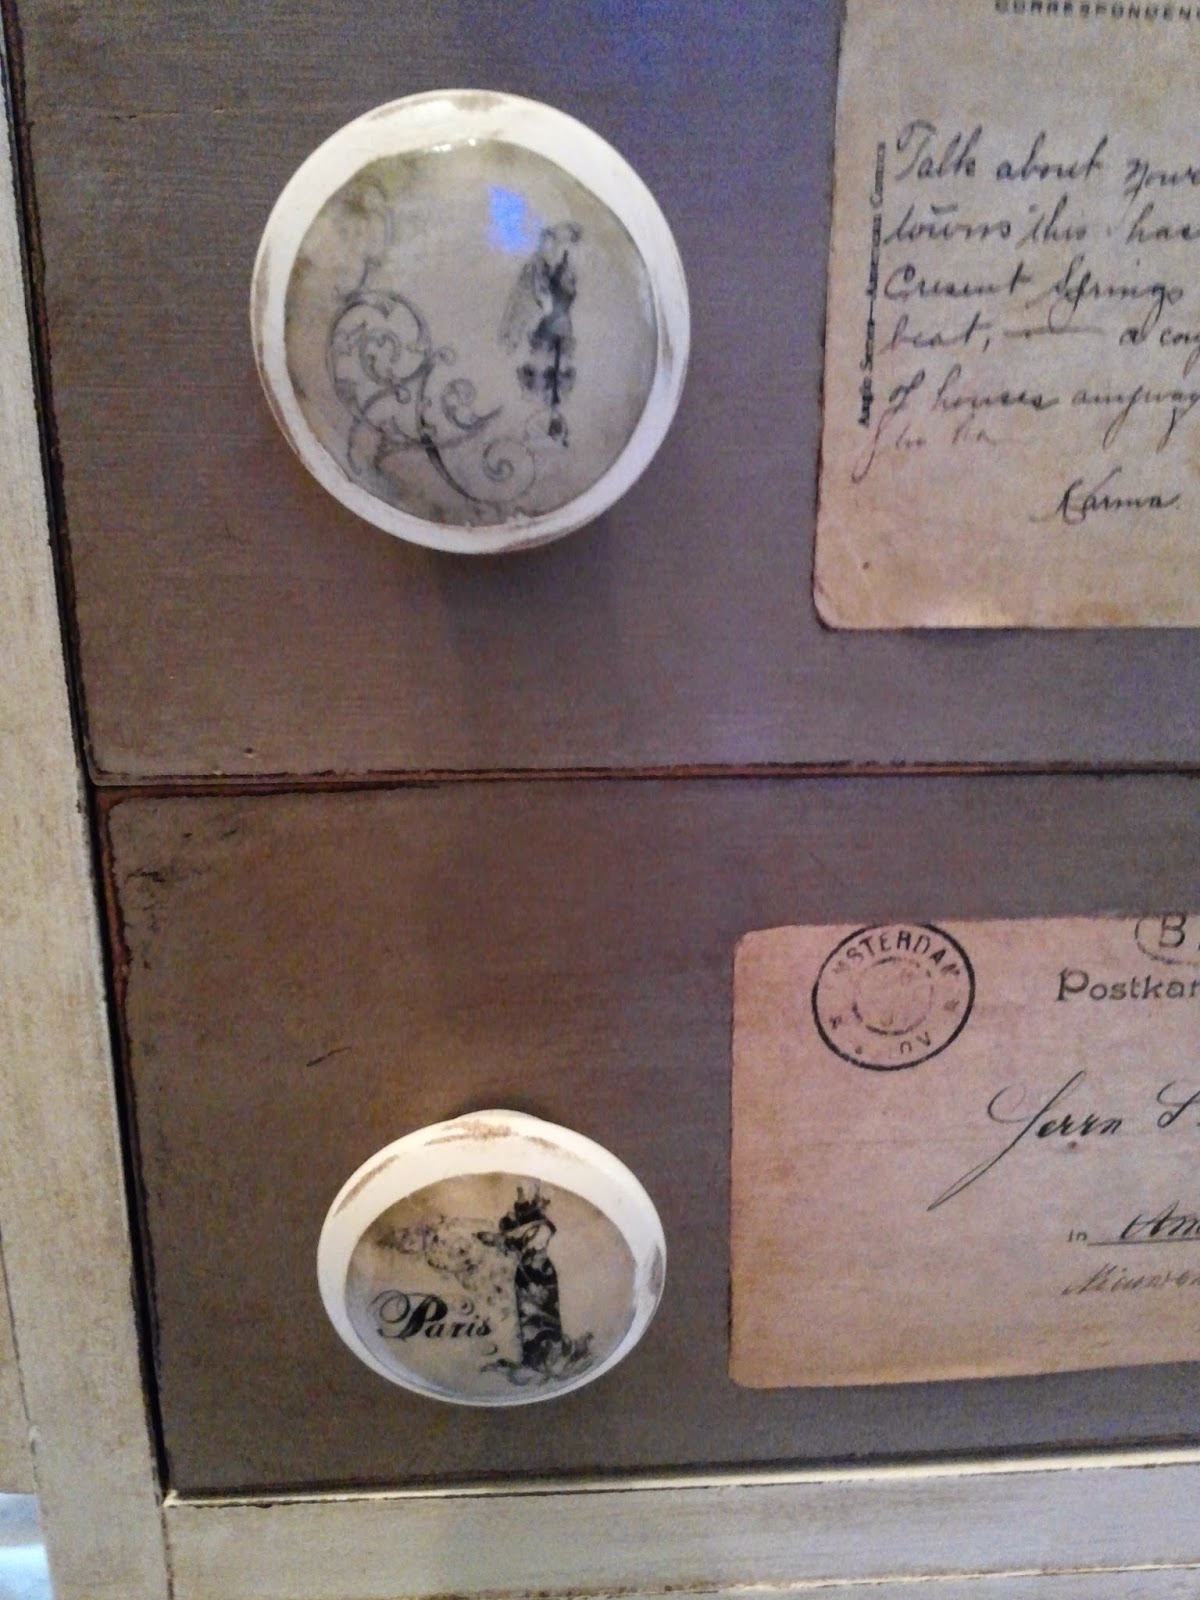
I made new knobs to match the design I was
going to use.
(That is a great opportunity for me
to get to making knobs 🙂
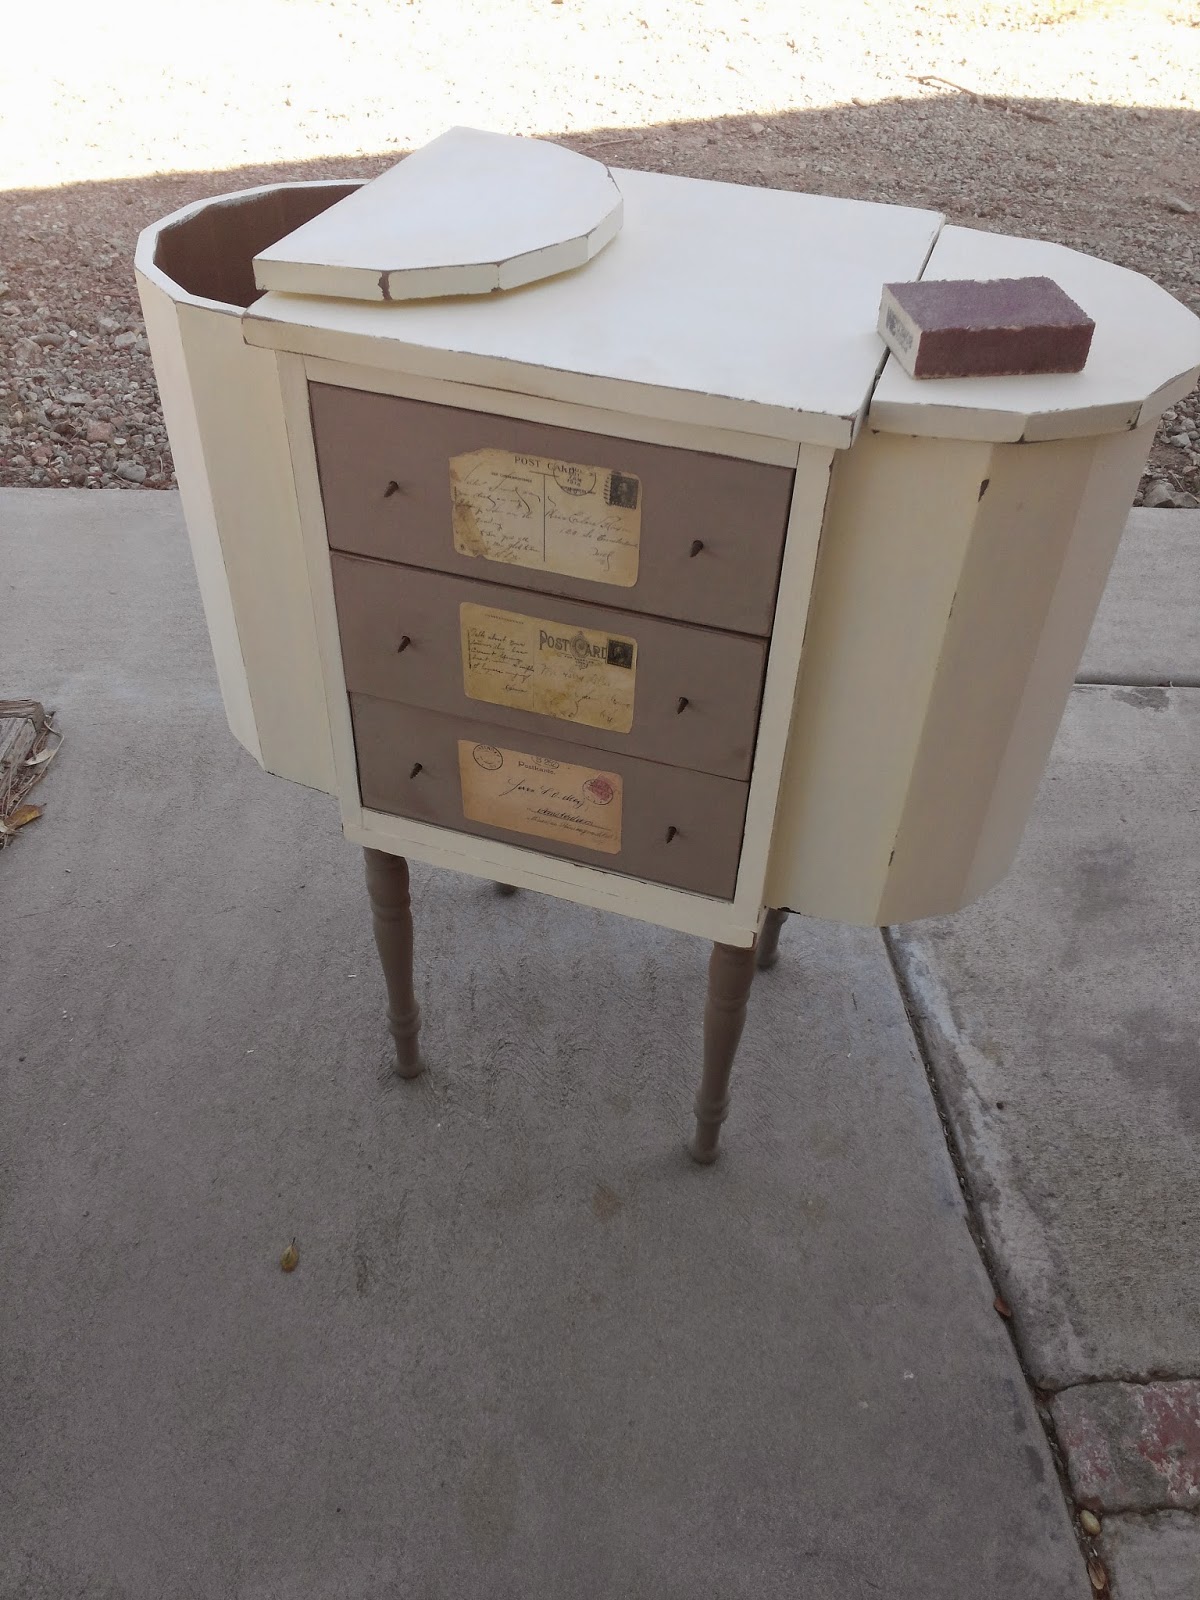
Painting begins…
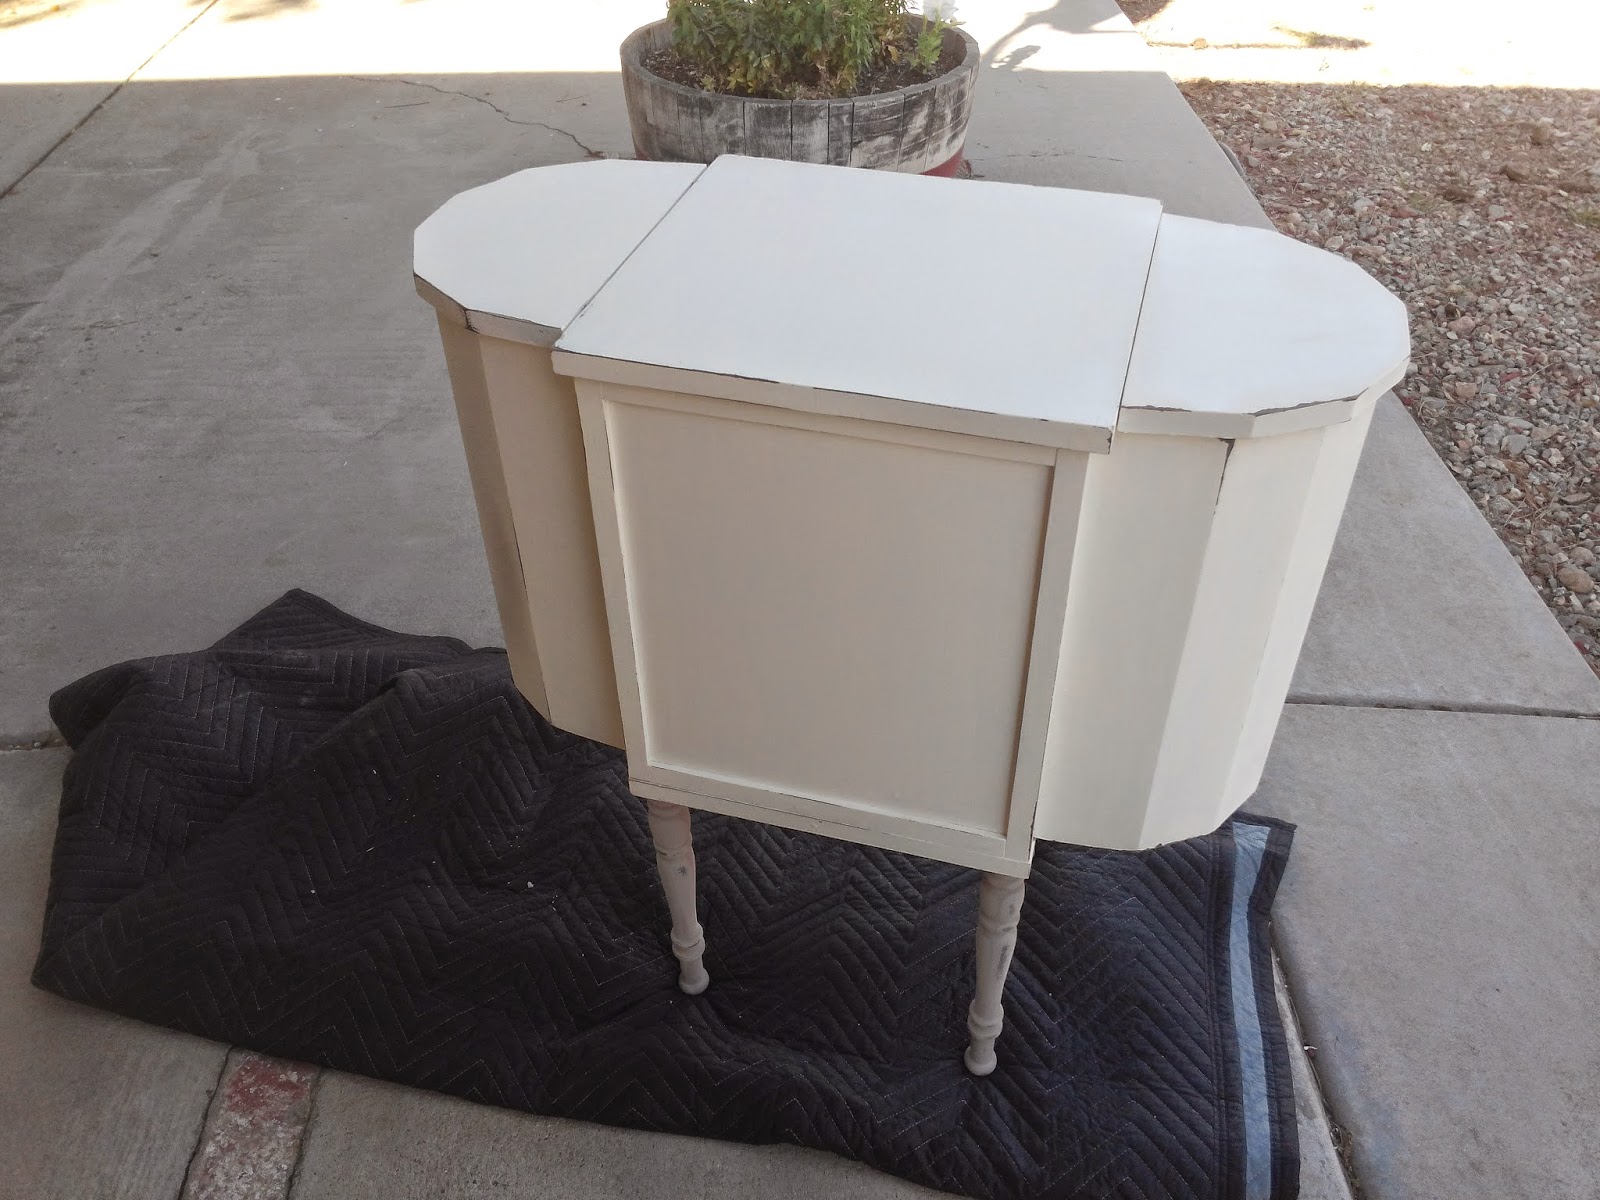
I needed a creamy white to start with so
I headed down to Home Depot to
see what I could find. I chose Honeysuckle
White and then made it into
chalk paint. I painted the whole top of the case
with white except the inside of the drawers and the
rounded sides.
I used Annie Slones Coco on the drawer fronts and the legs.
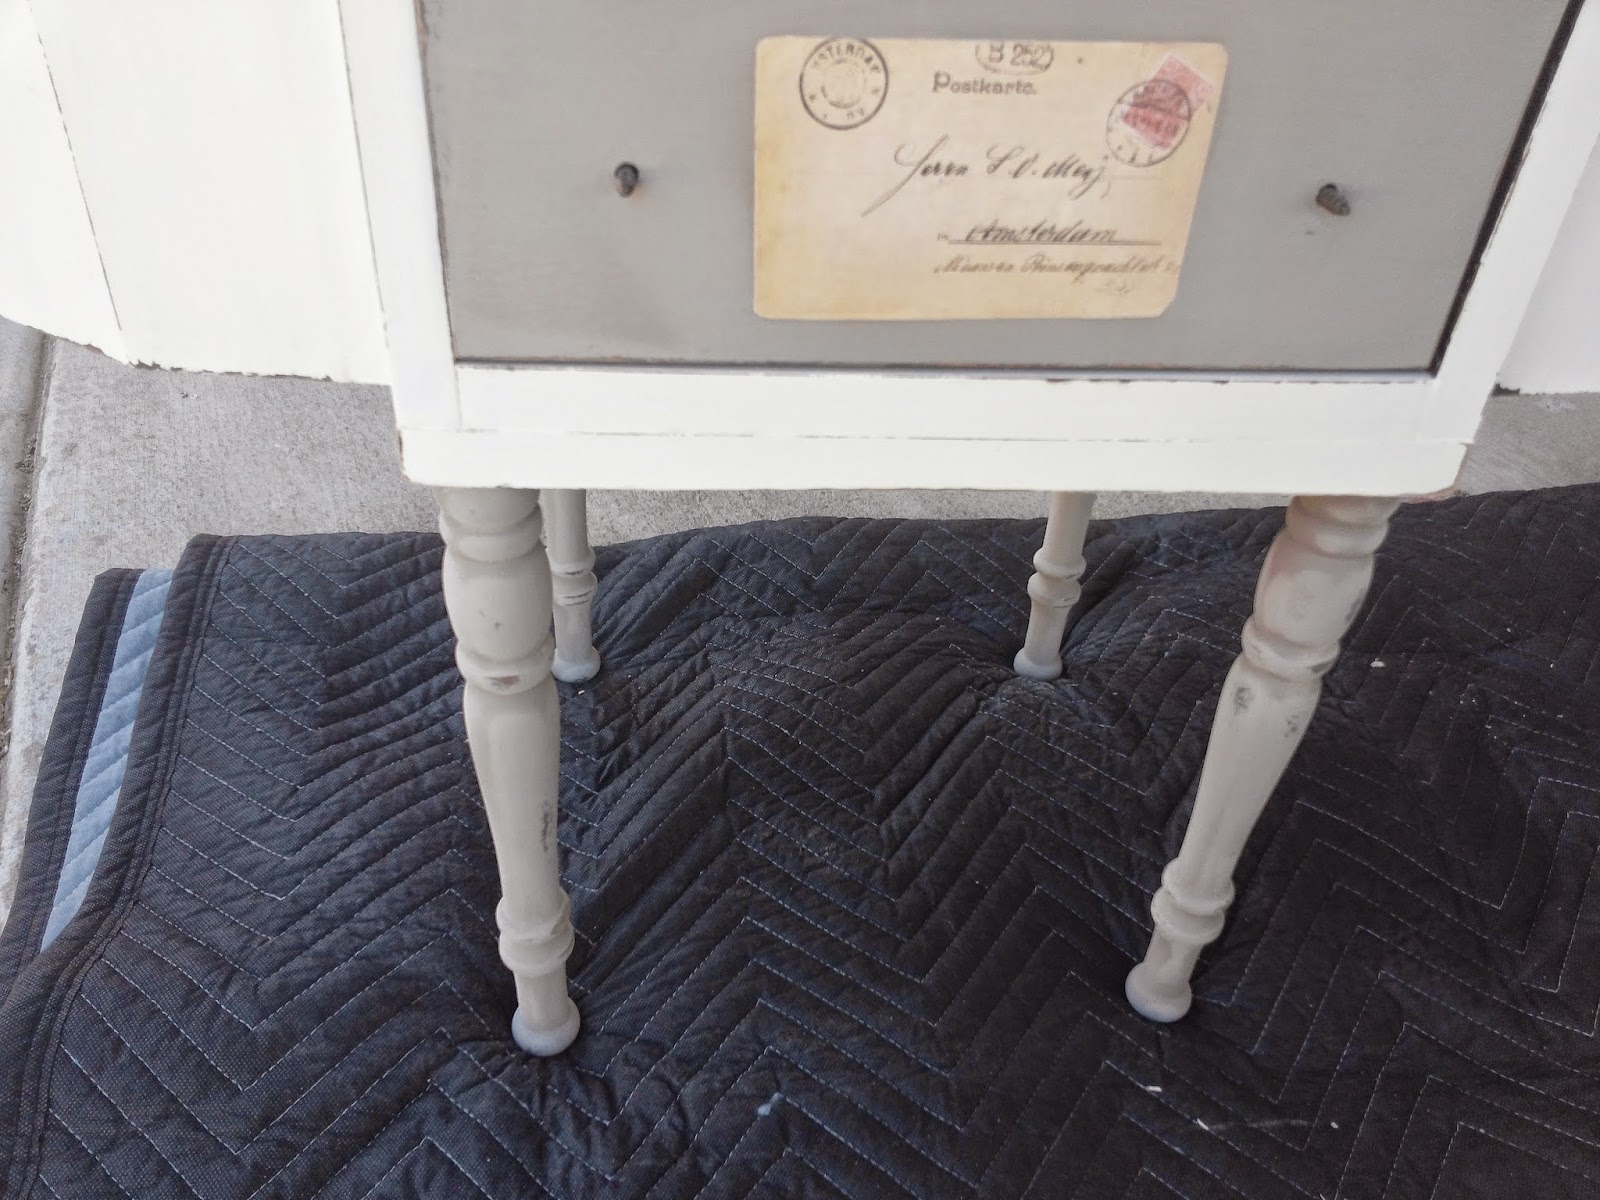
Next I added vintage looking post cards
on each drawer front. I found them on
At this time they have been sold and
are in transition to the new owner.
You can still go to the site to find out more.
I love them.
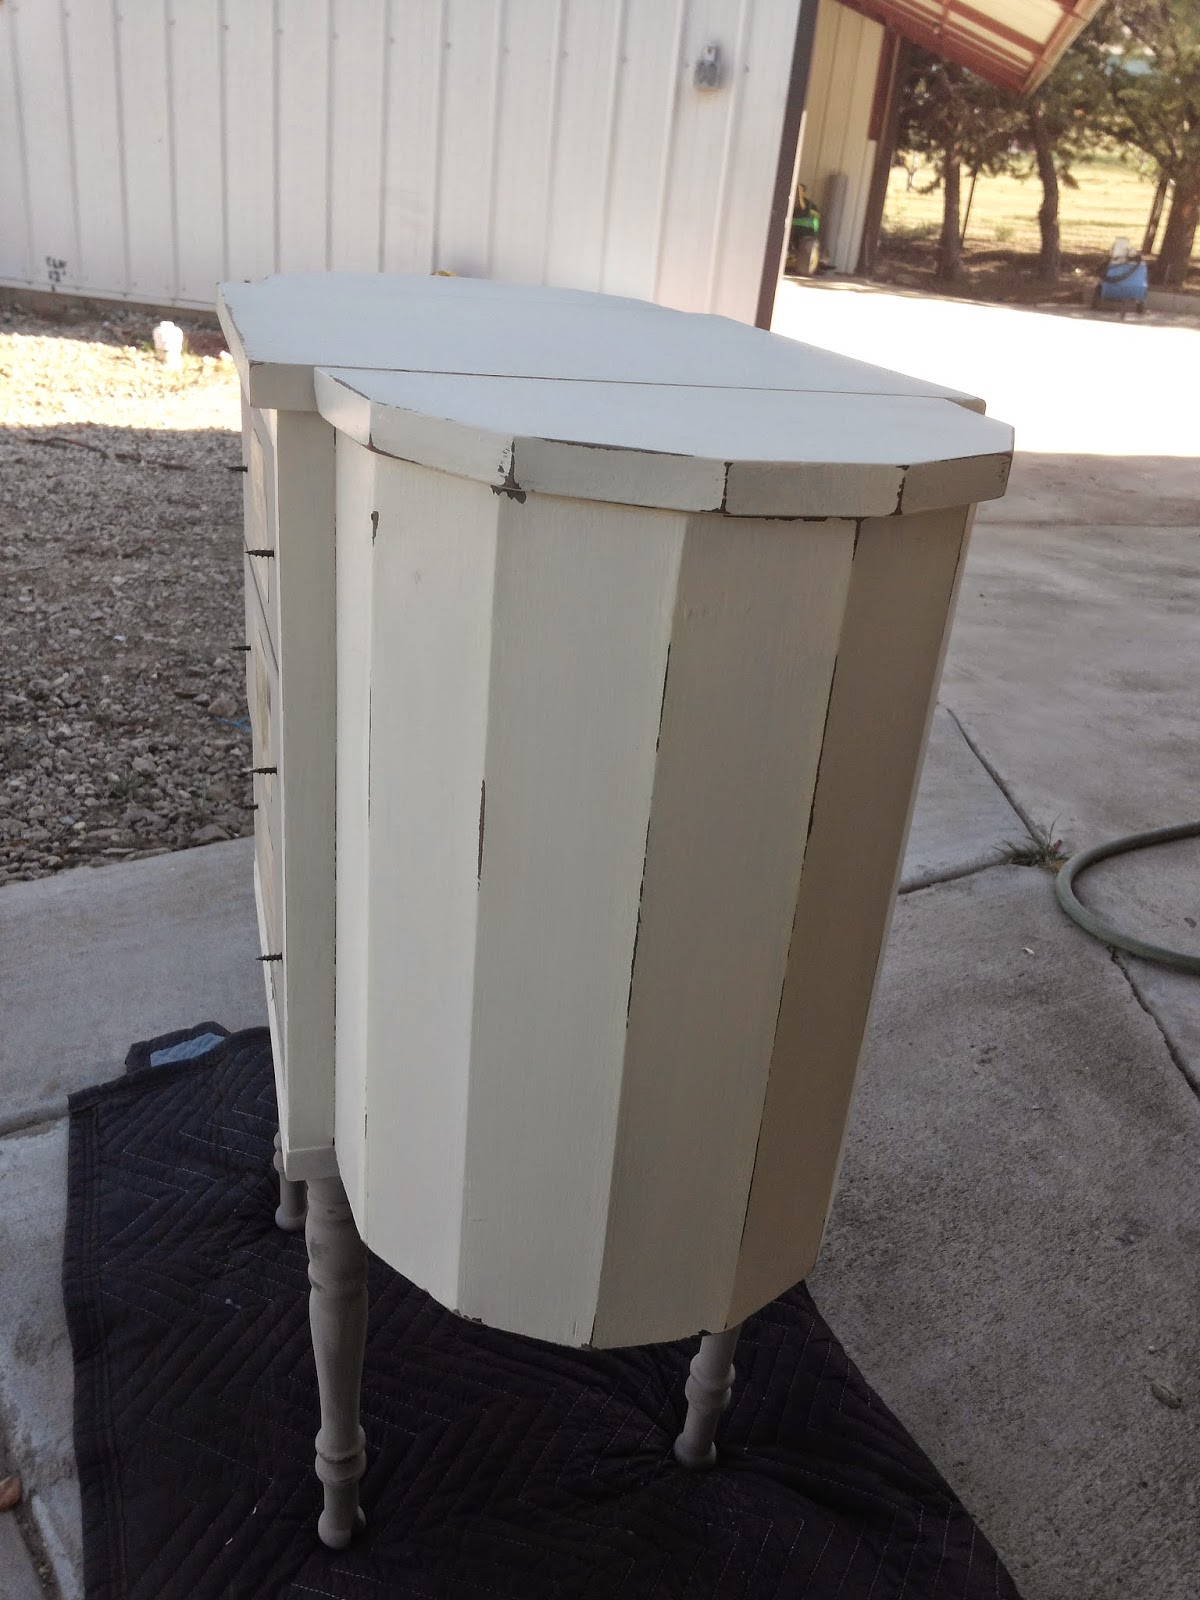
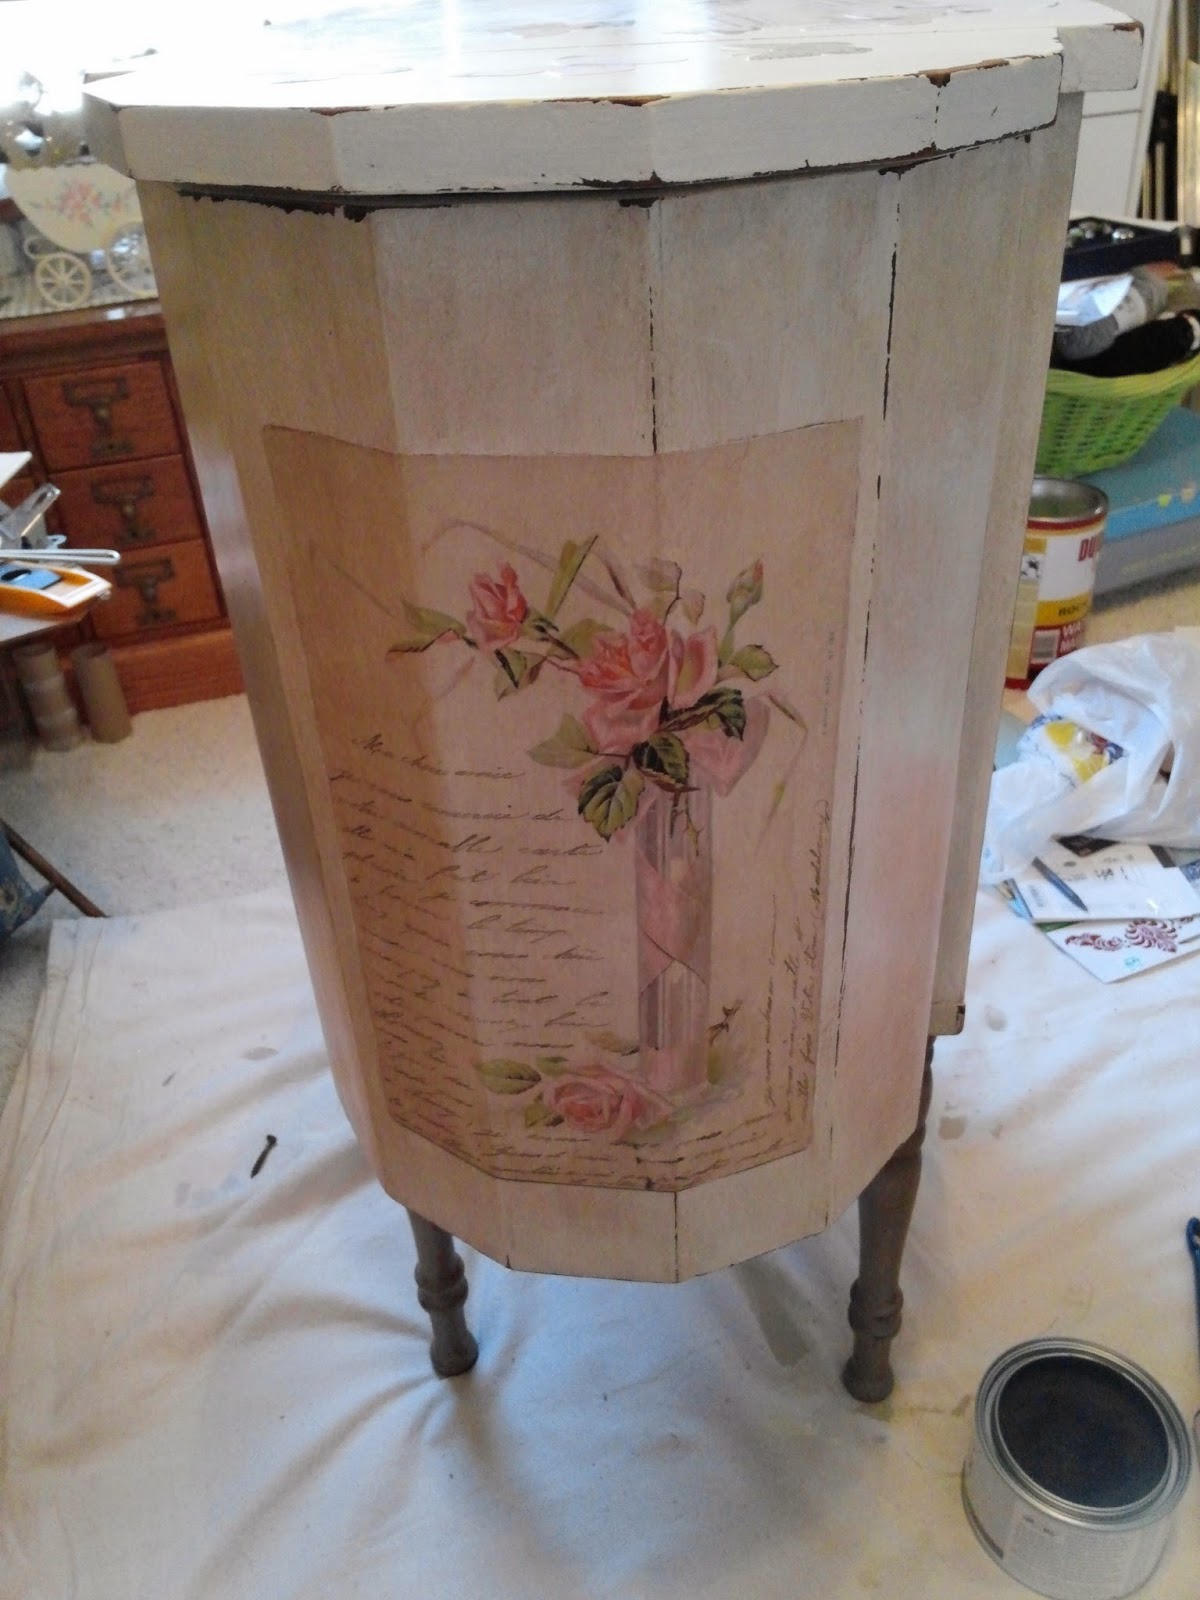
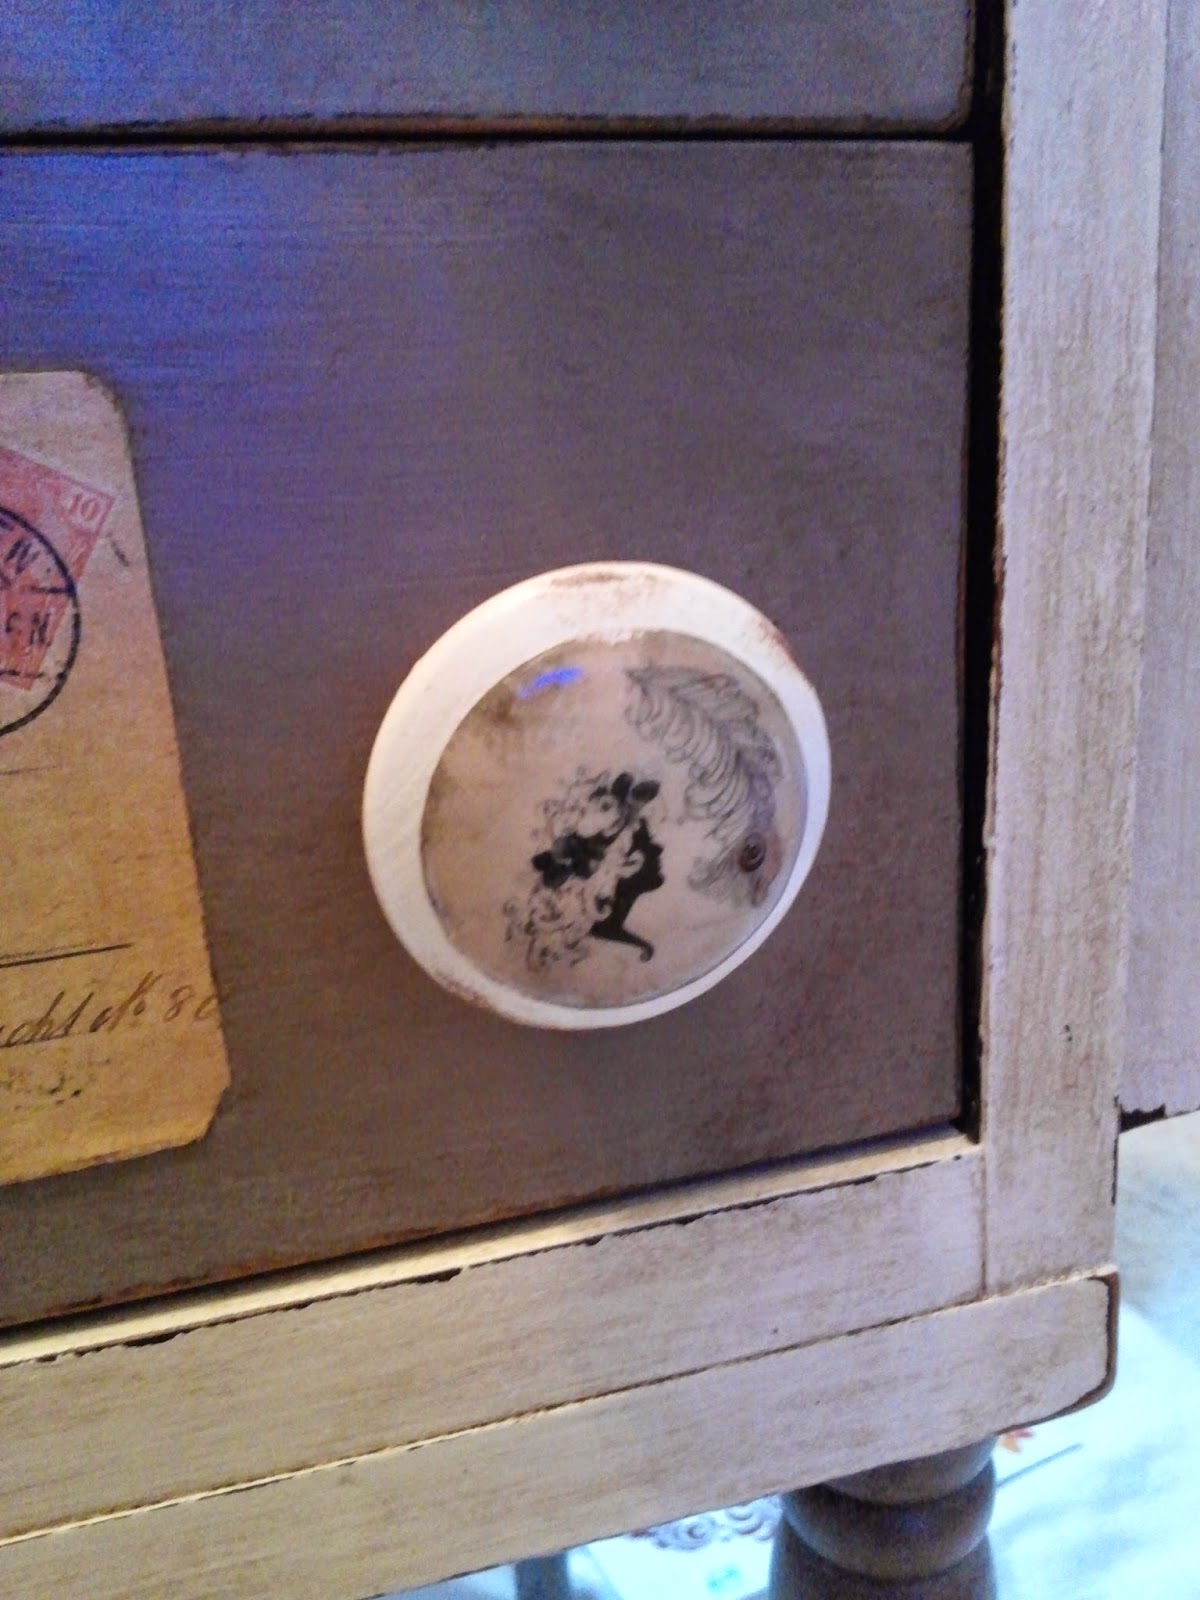
I then took it outside and distressed it by
sanding it down to look worn out.
Funny how the other worn out wasn’t good enough. Huh!
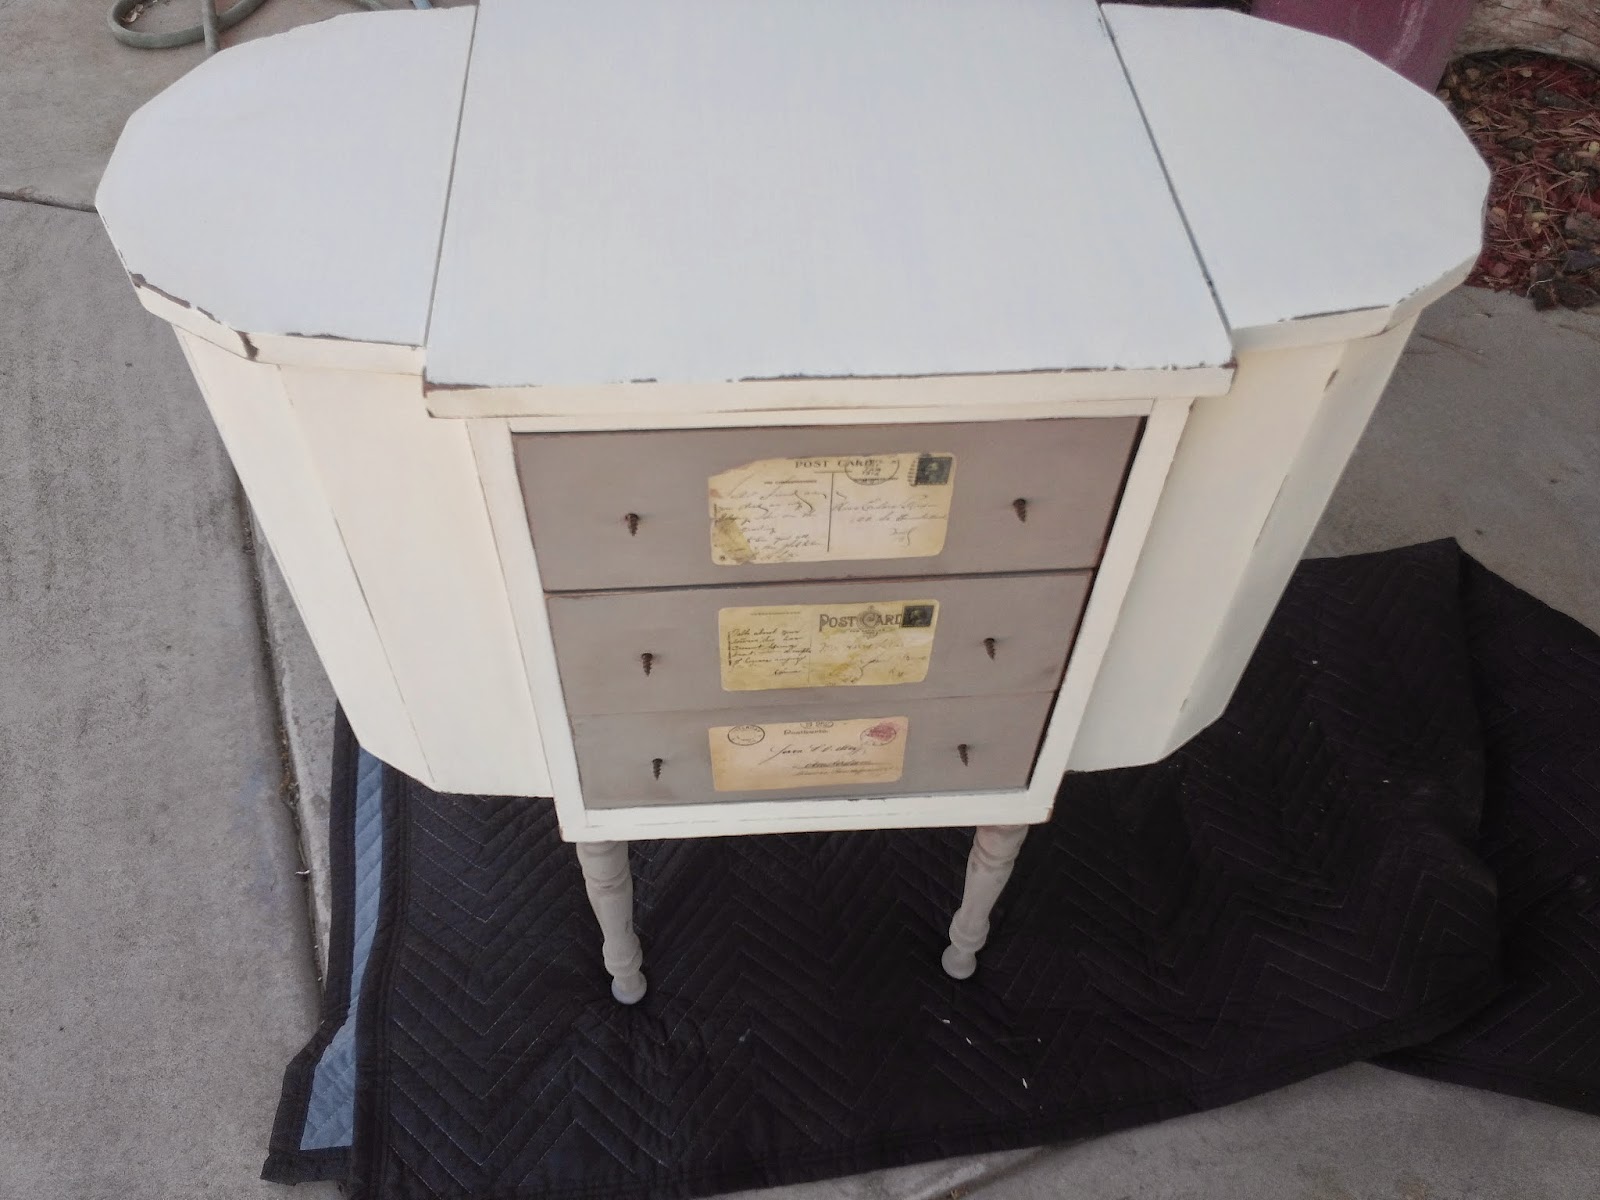
Finally sanded and ready for the most fun part.
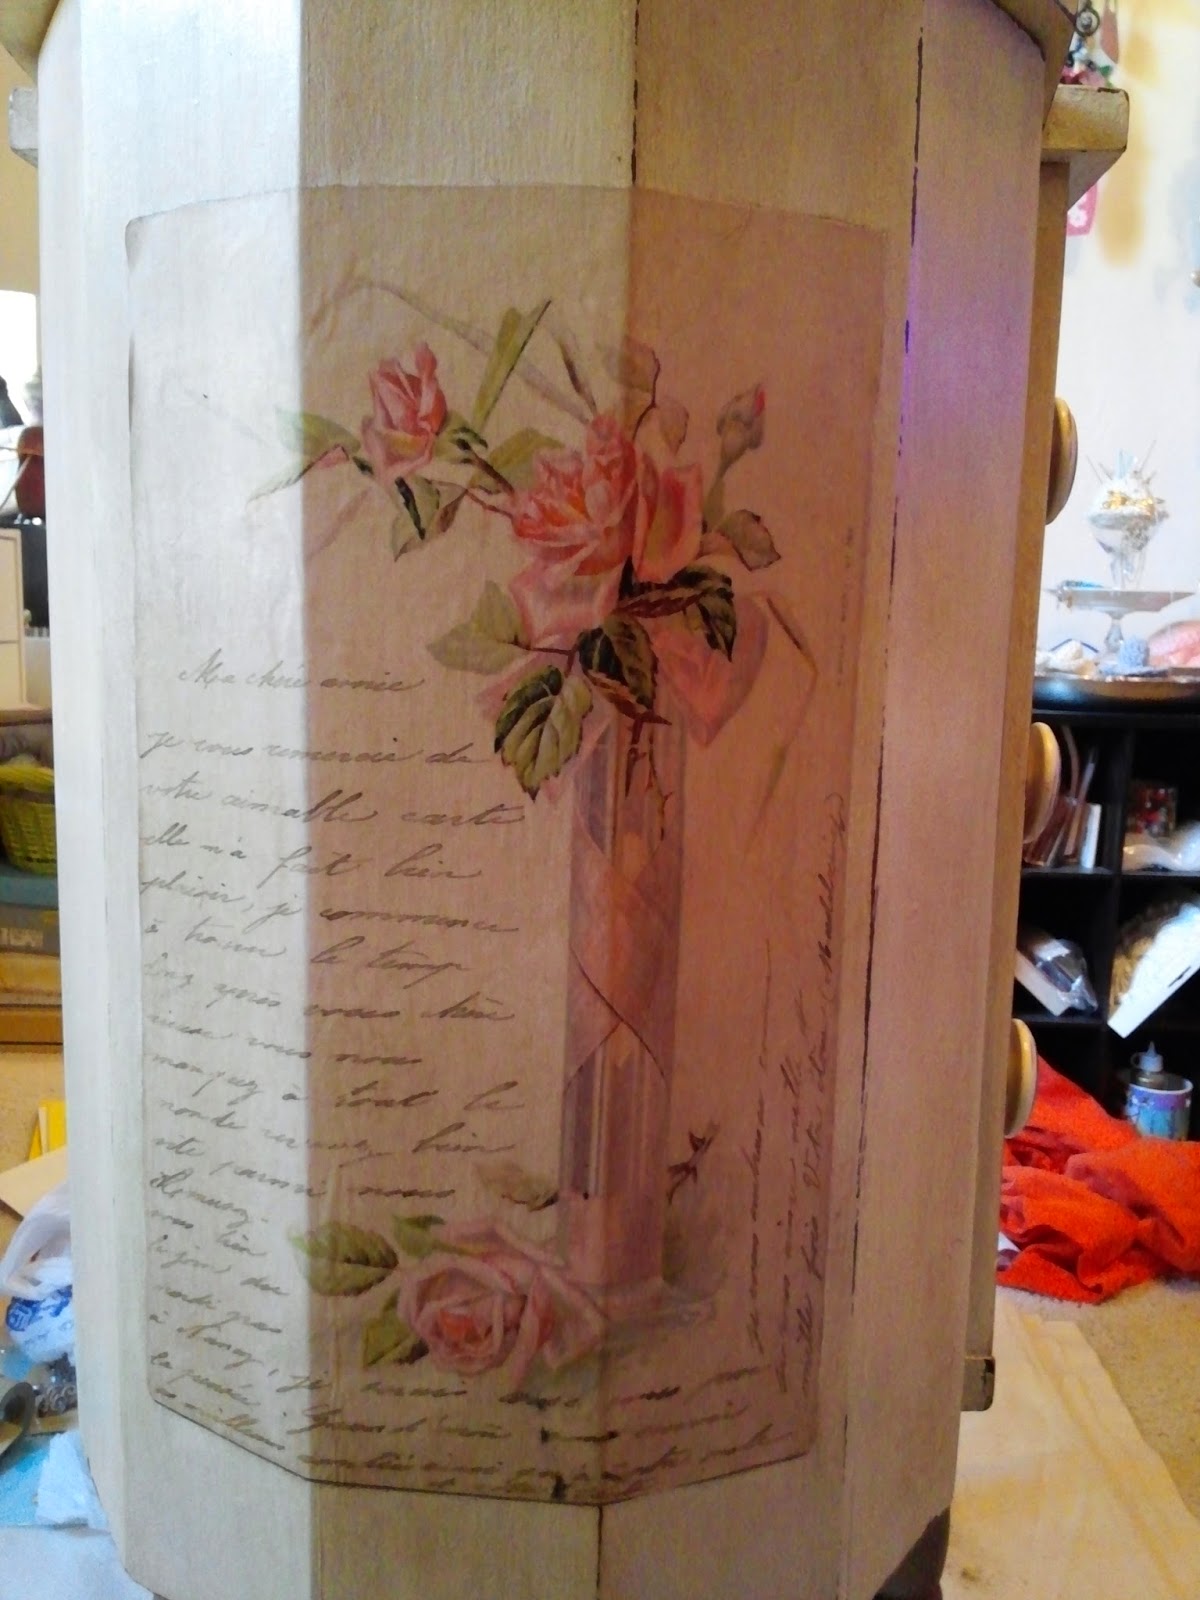
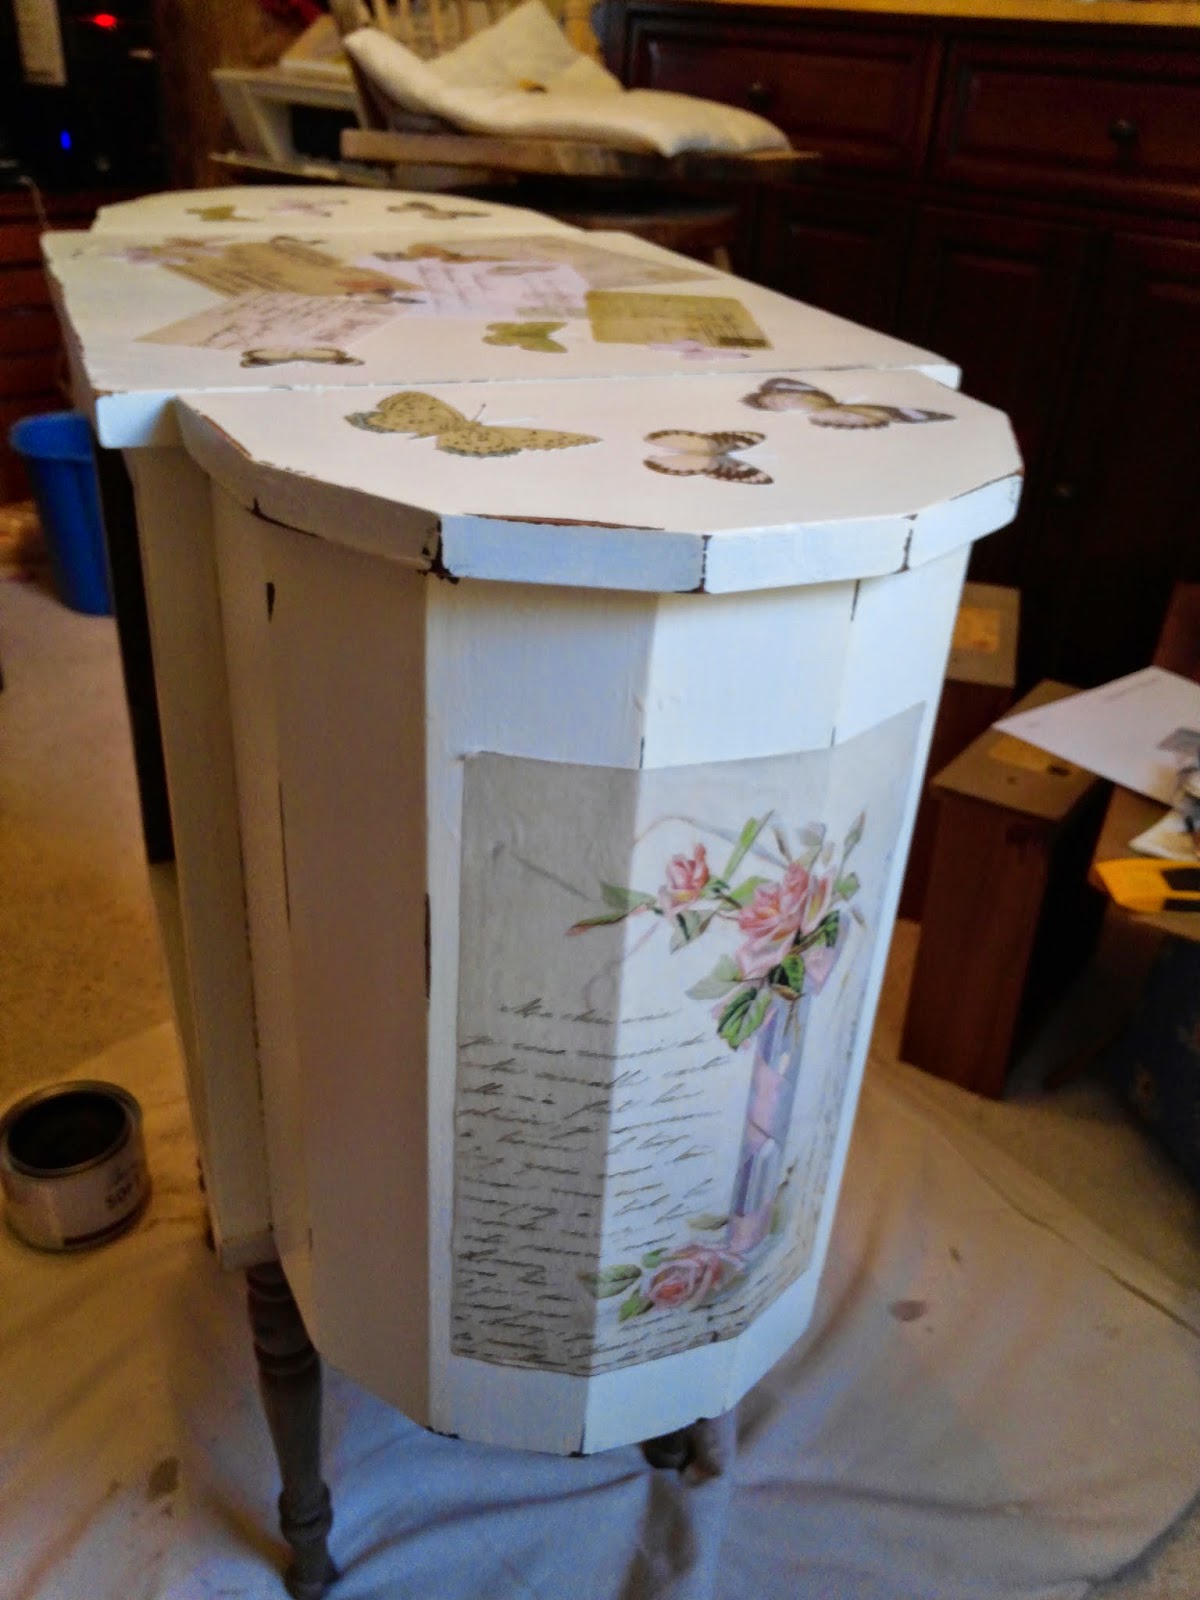
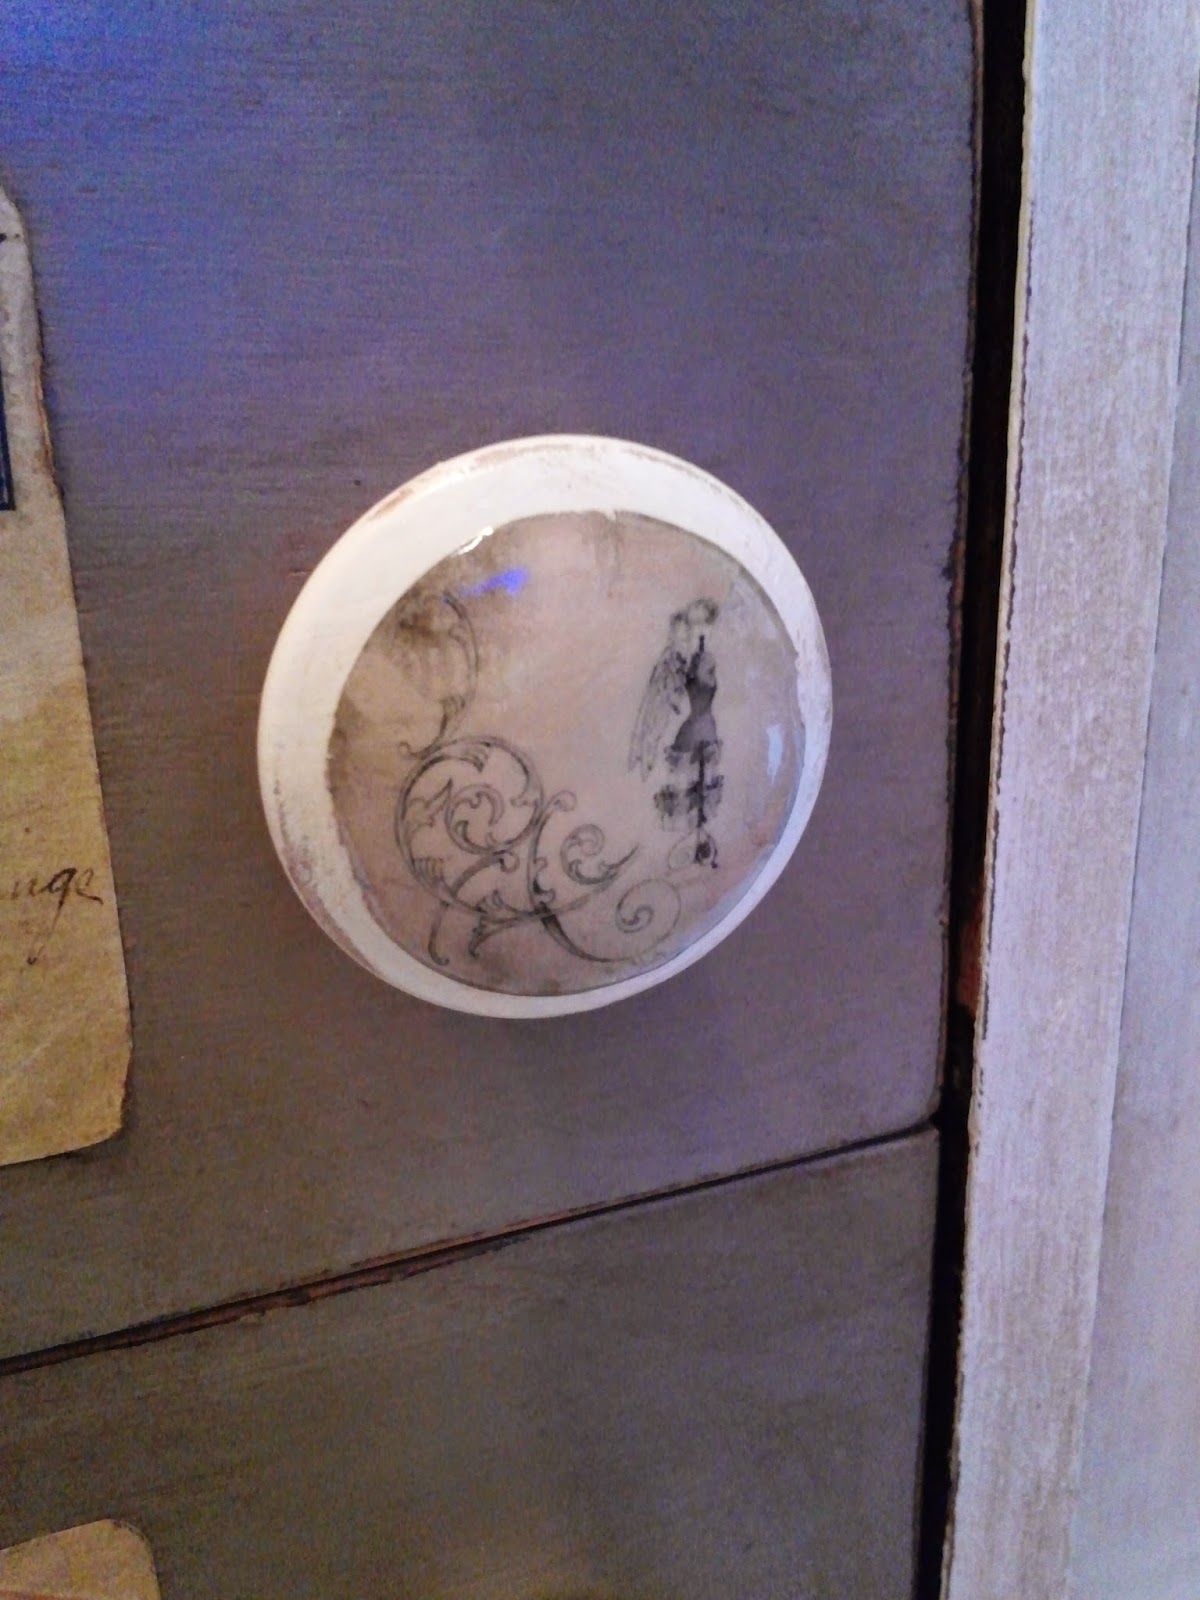
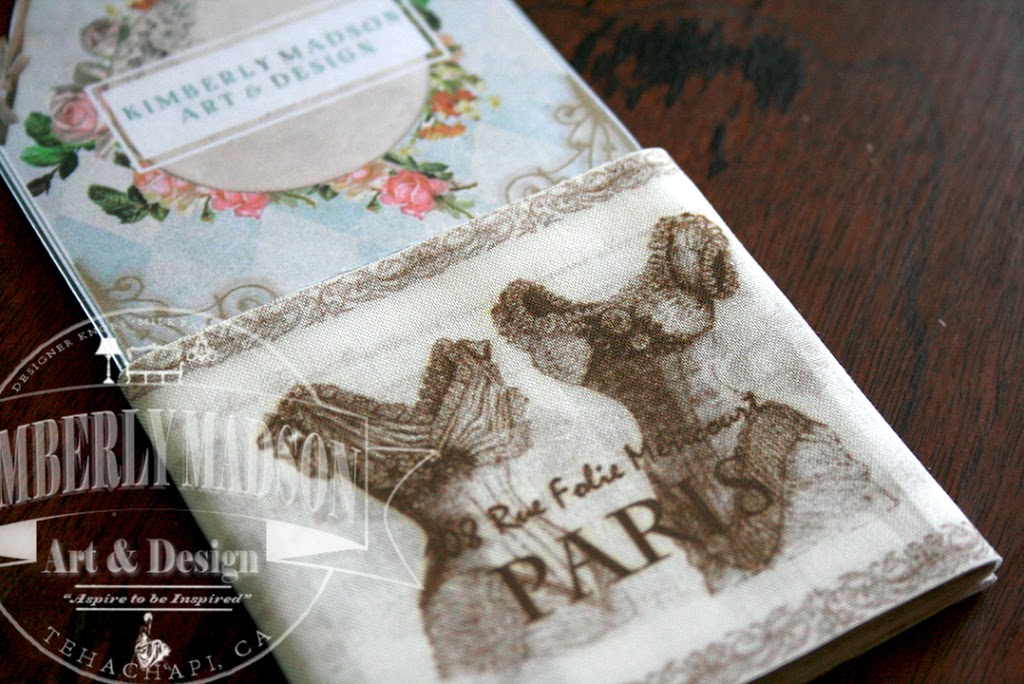
Placing the Designs on…
I decided to use this print,
which I found on Graphic Fairy.
It reminds me of my Grandmother
who is now passed and I miss so very much.
I began by mod podging it on each side.
I think it is lovely. So vintage.
(The top photo has the wax already applied)
the one on bottom is with no wax)
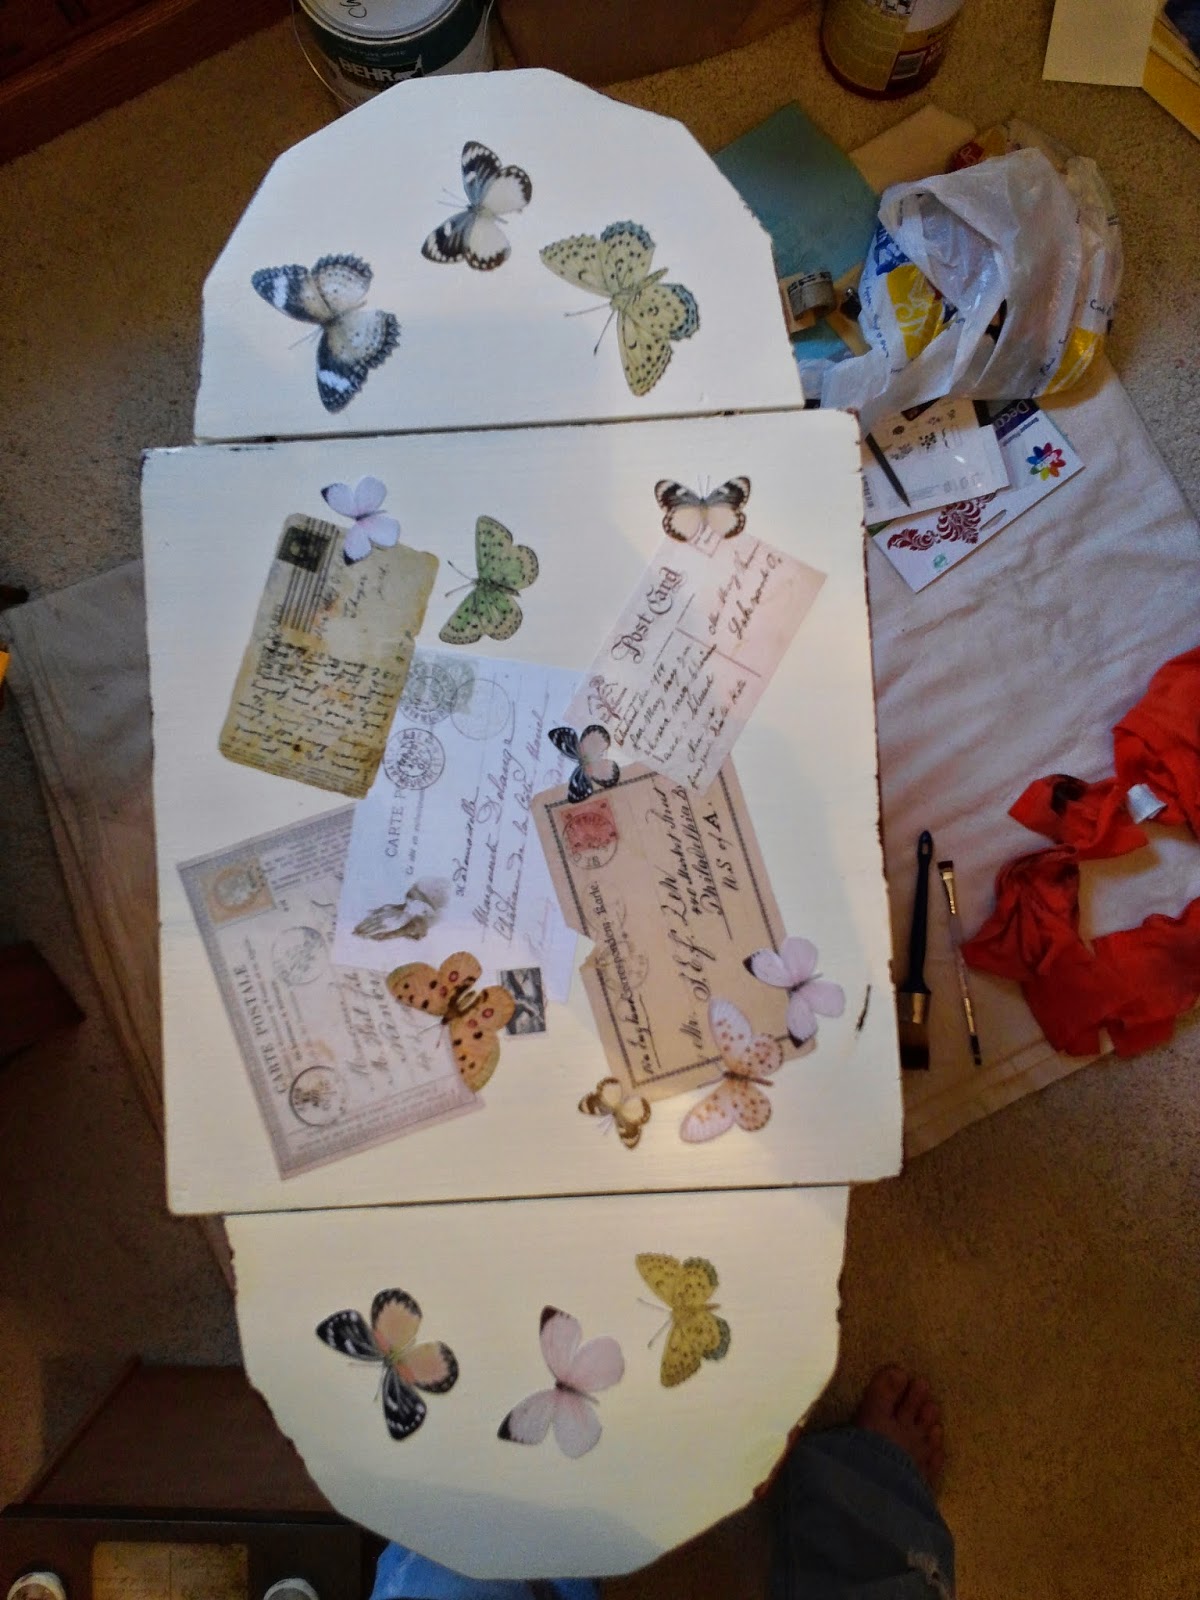
I had a bit of trouble when I wanted
to tie things together since I was using
old vintage post cards. So I search
through my treasure of saved files
and thought these butterflies
would be a good match.
Not my original intent but
I liked how they looked so they
were the next things I added.
They were only applied to
the top along with more post cards.
I am not sure where I got these particular ones
but Etsy has many to chose from.
This is the top without the waxing.
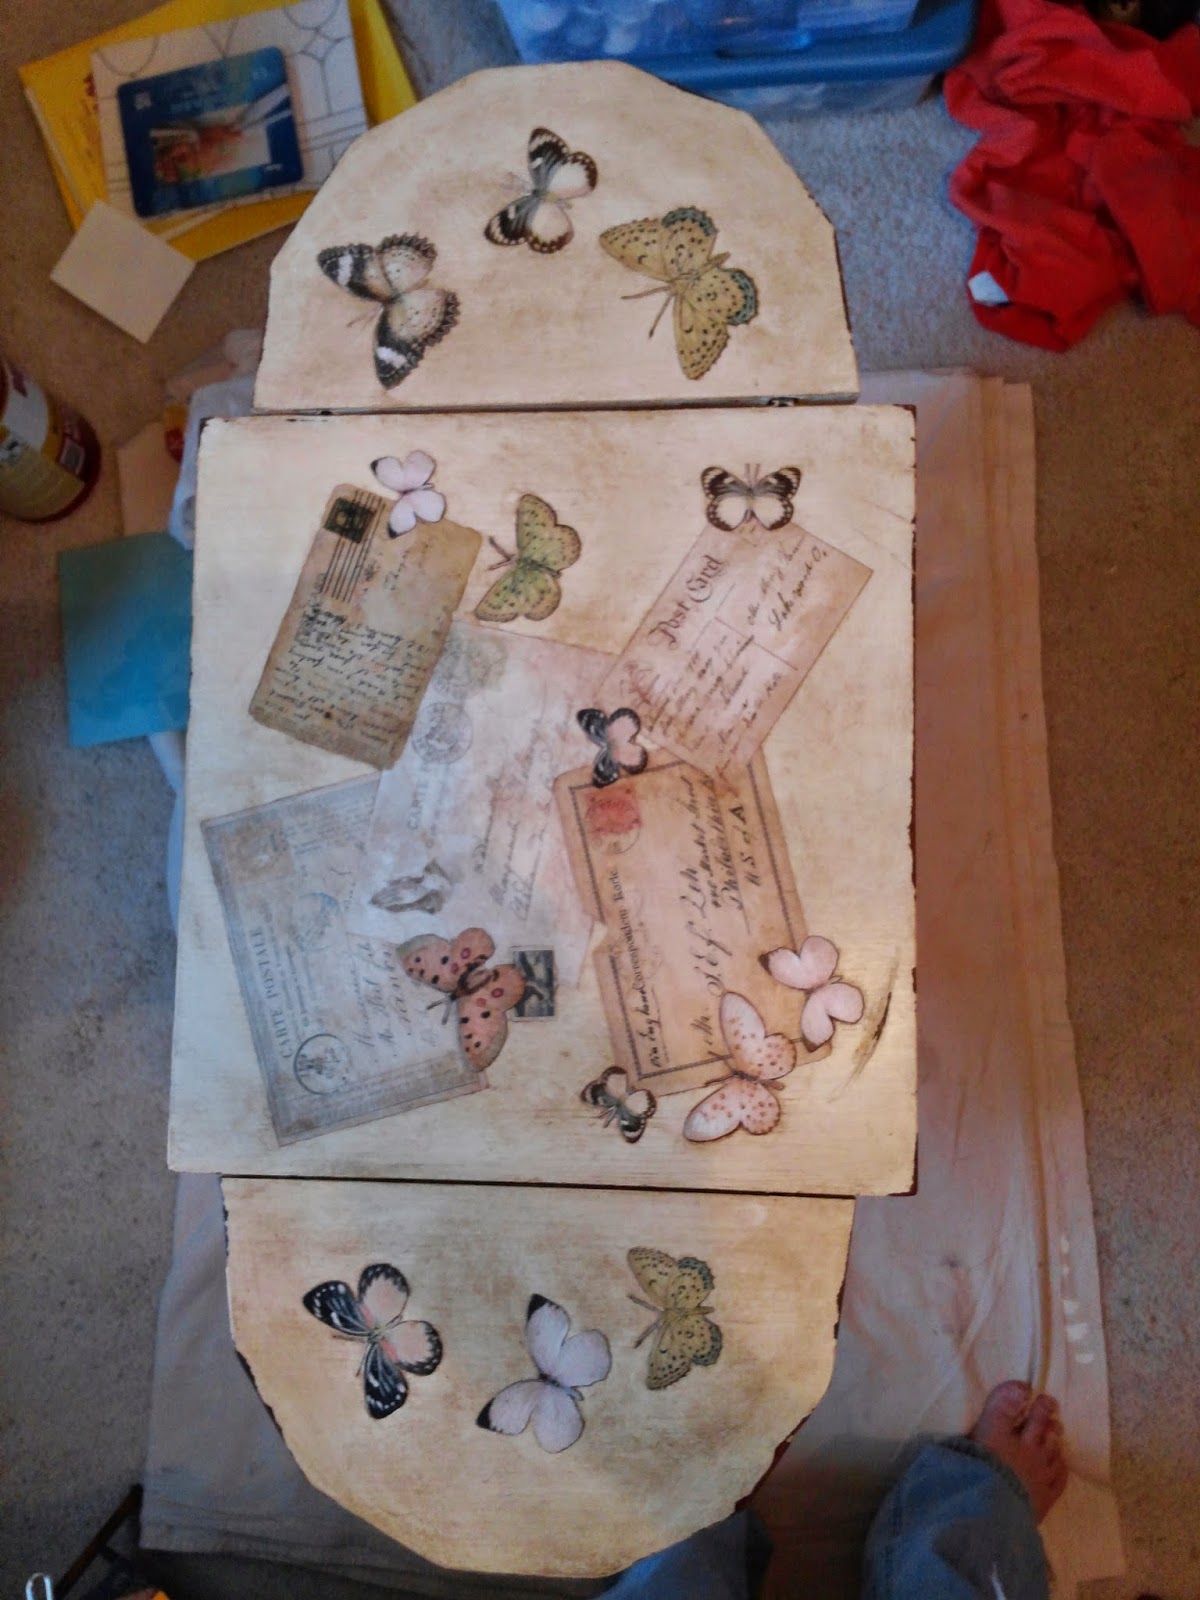
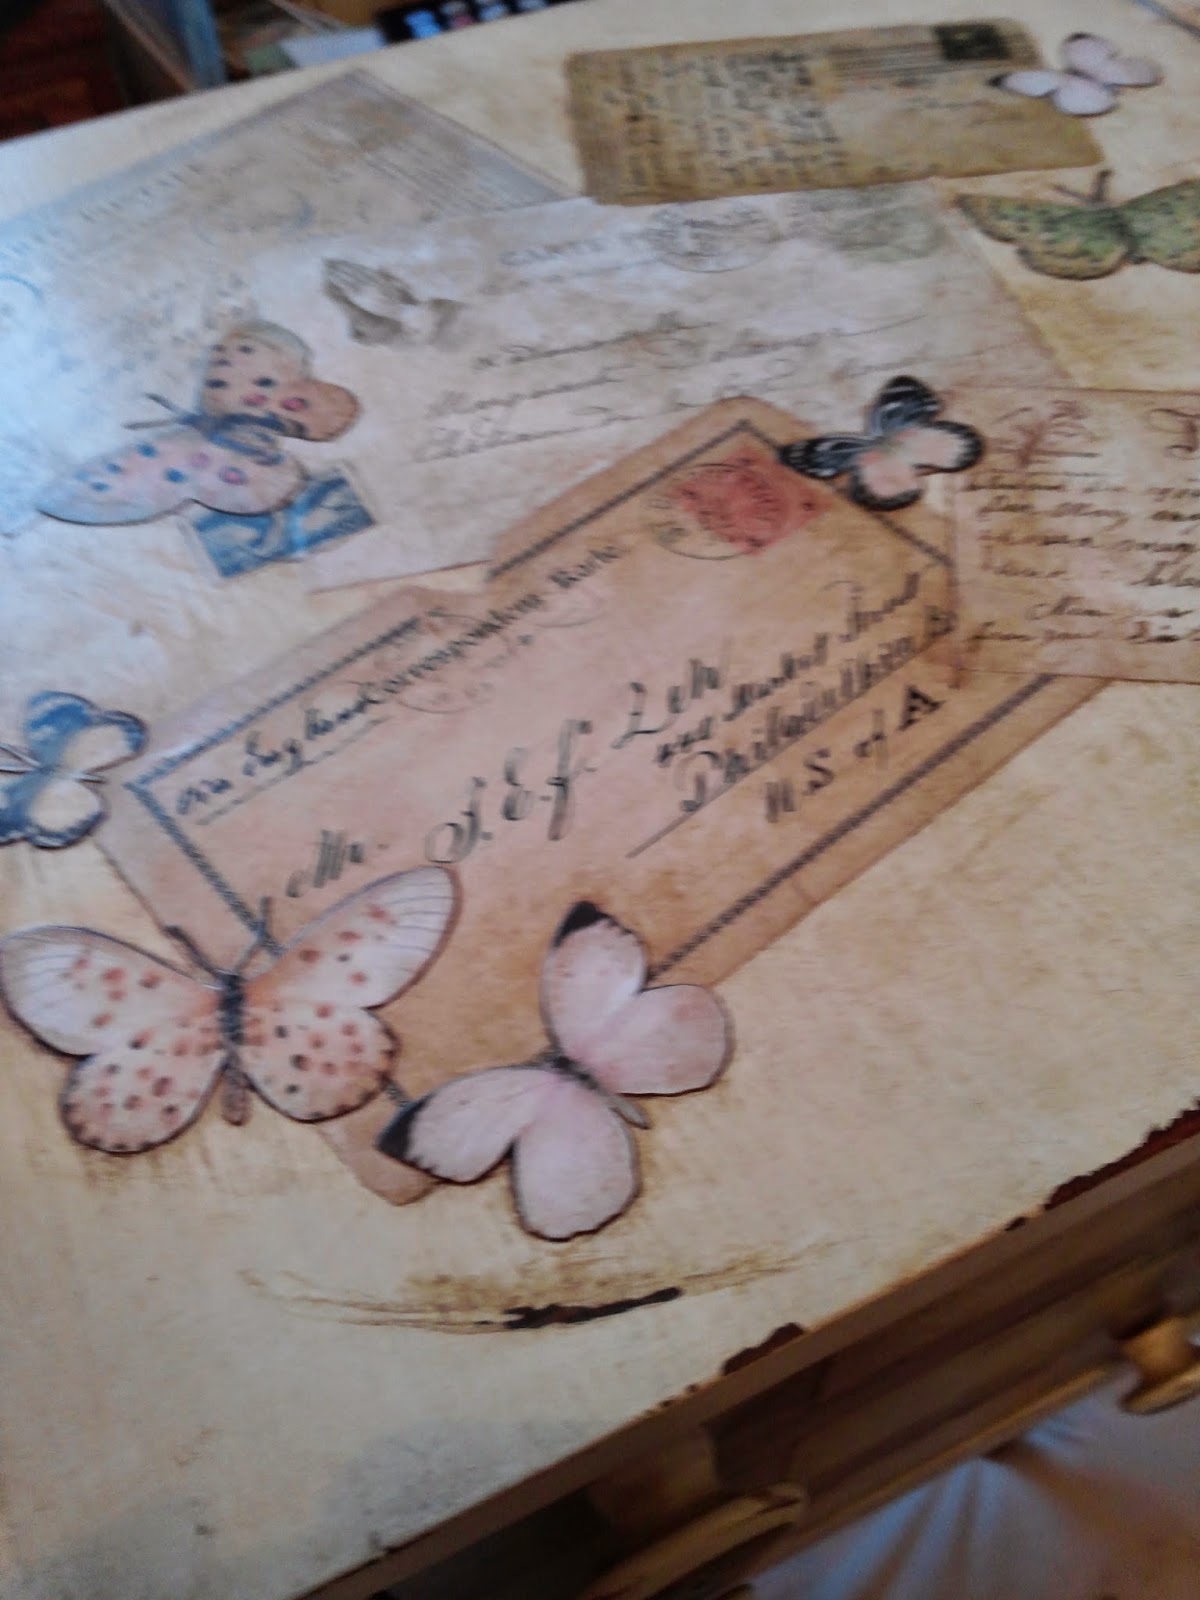
After Waxing…
I used Annie Slone’s clear wax
first and then used the
dark wax to age it.
I then added the knobs.
These will be available
soon in my Etsy shop.
If you like them and
think you may need
them right away
let me know and
I can get a set out to you.
There are
so many awesome
designer knobs to chose
from here.
I sanded these knobs to match the
white on the rest of the piece.
They don’t come sanded.
The finished Set
I did not do a picture by picture
of the smallest box.
It is painted the same white and
then waxed and
custom made knobs were applied.
The knobs for the small box
are the letters and they
can be found here:
I have a treasured keepsake now.
So happy with it!
I hope it was worth the wait for you.
It takes time and I am glad you waited!
Please let me know what you think. Thank you for looking.
Until next time…
God Bless,
Kimberly


Recent Comments